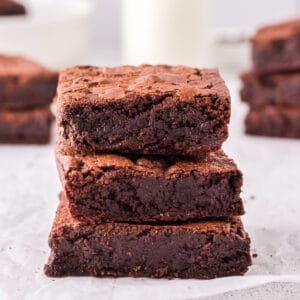
These Dairy-Free Brownies are fudgy, rich and decadent. Just like your favorite classic brownie, this version is as equally irresistible. They have a sweet, rich chocolate flavor with the perfect amount of fudginess.

If you love chocolate desserts as I do, try my Snicker Dates. They're made with chewy caramel-like dates that are stuffed with peanut butter, and coated in a hard layer of chocolate. My Chocolate Banana Milkshake is another great choice. It's only about 240 calories of wholesome ingredients that are sure to satisfy your sweet tooth.
Jump to:
❤️Why You'll Love this Recipe
- They easily compare with the best traditional brownie recipes.
- They have a perfectly fudgy interior with a shiny crackly topping.
- Nobody will be able to tell they are dairy free.
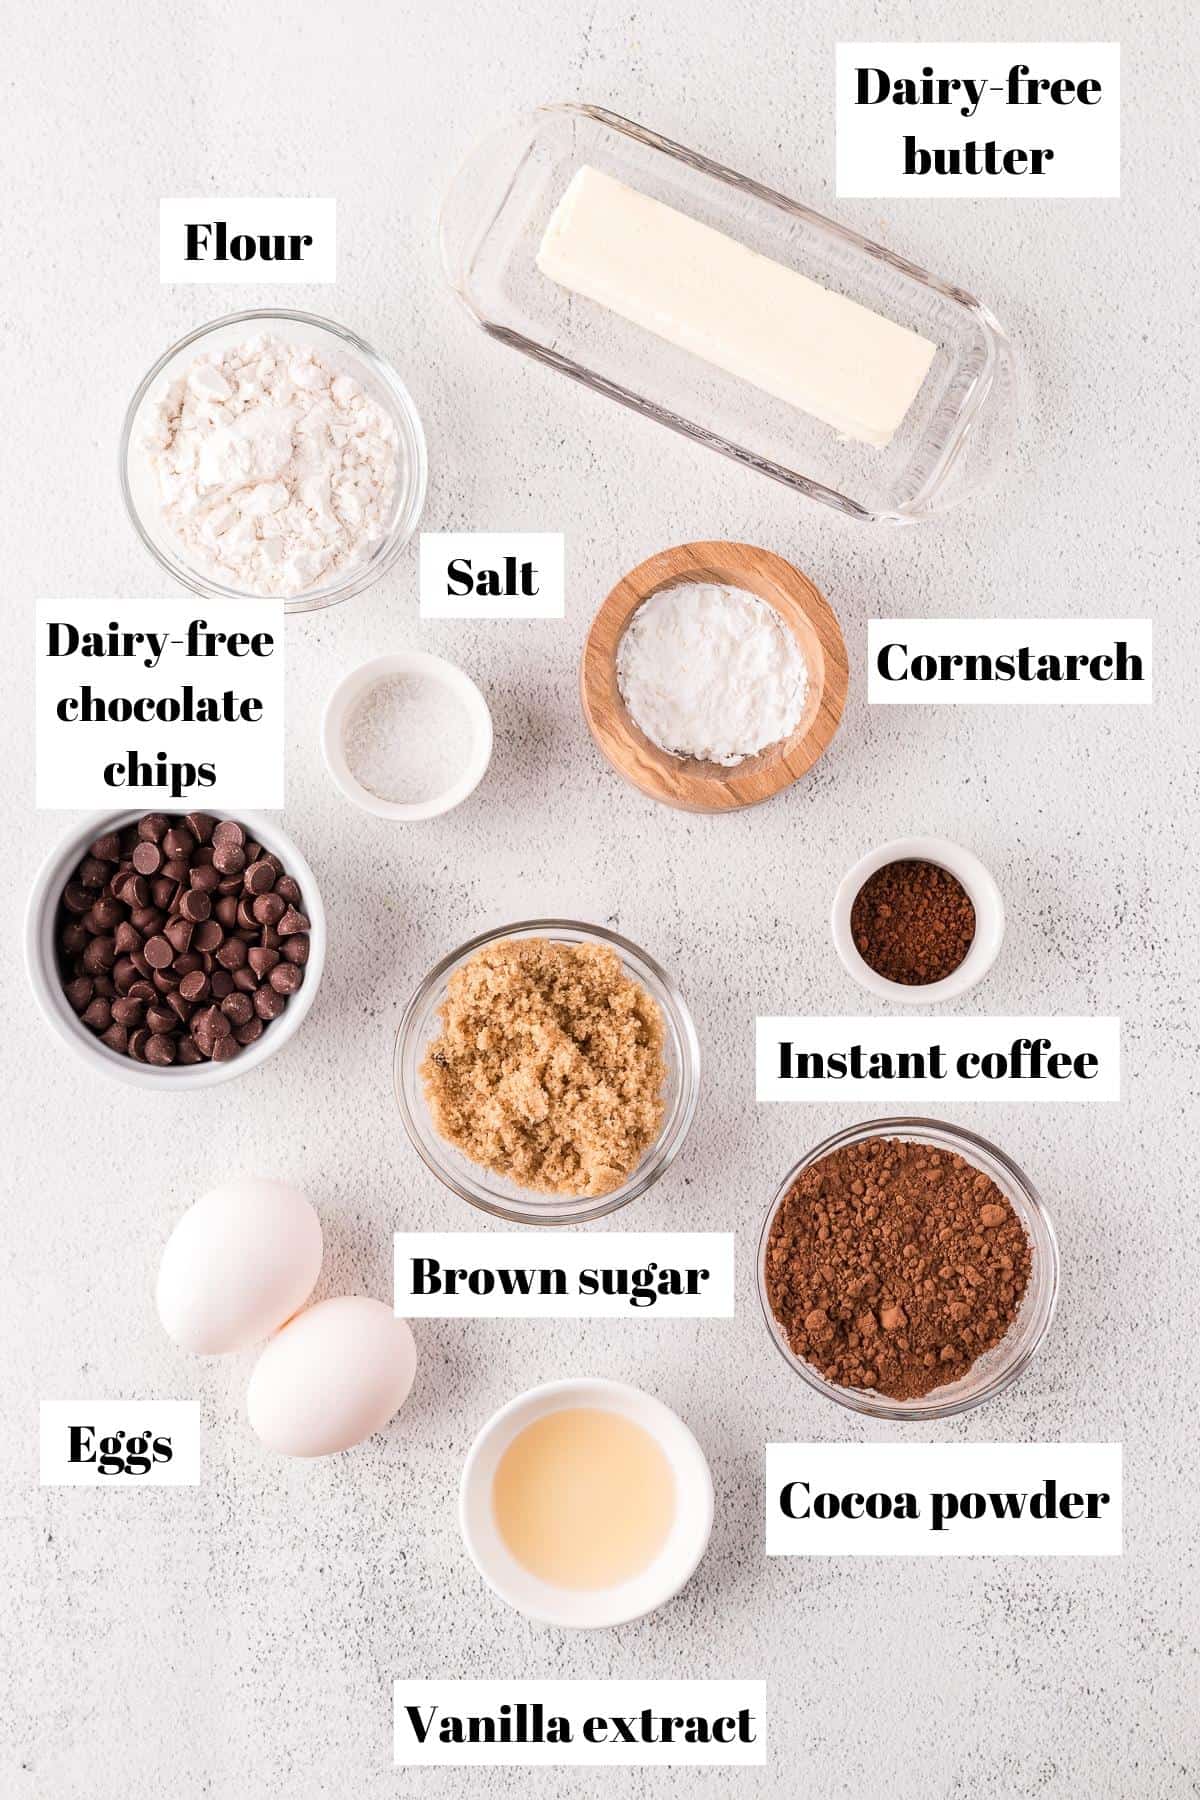
📝Ingredient Notes/ Substitutions
- Non-dairy butter: I use country crock plant butter with olive oil because it has the best flavor that resembles real butter. You can use your favorite non-dairy stick butter. Make sure it's one that you like the taste of because it can change the taste of your brownies.
- Flour: I use white all-purpose flour. If you want to make these into a dairy-free gluten-free brownie recipe, you can use a gluten-free all-purpose flour like Bob's Red Mill 1:1 Baking Flour.
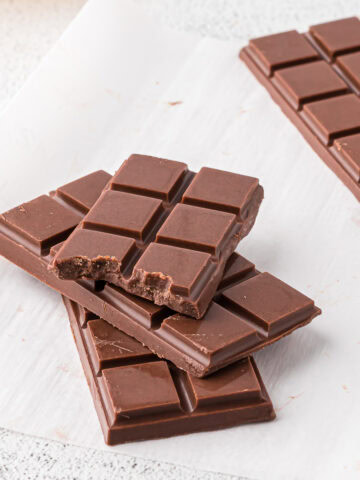
- Chocolate chips: I like to use Enjoy Life's Semi-Sweet Dairy-Free Chocolate Chips or Nestle Toll House's Allergen-Free Semi-Sweet Chocolate Chips. You could also use a bar of chocolate that is dairy free. I like to use a mix of Lindt Oatmilk chocolate and Lindt 70% dark chocolate. Each bar is 3.5 ounces (or 100 grams). Use half a bar of each (so 50 grams of milk chocolate and 50 grams of dark chocolate). This will make semi-sweet chocolate.
- Corn starch: This ingredient helps make the brownies more chewy.
- Instant coffee: It will take your brownies from good to great. Instant coffee helps intensify the chocolate flavor, and the two flavors pair well together. It's in the form of granules but will dissolve in hot water. I use the Nescafe Clasico brand.
🥜Variations/ Add-Ins
- Nuts: Add some chopped walnuts, pecans or peanuts on top. You can also mix them into the batter.
- Chocolate chips: Sprinkle some dairy-free chocolate chips on the top of your brownies or mix them into the batter for a bite with melted chocolate.
- Marshmallow fluff: Some people like to swirl marshmallow fluff into their pan of brownie batter before baking it. This will give you a gooey toasted marshmallow flavor.
- Peanut butter: Another option is to swirl some peanut butter into your pan of brownie batter before you bake it. Or just drizzle some melted peanut butter on top of the baked brownies. If you love a peanut butter and chocolate combo, try it out!

🍦Serving Ideas
- Dairy-free vanilla ice cream
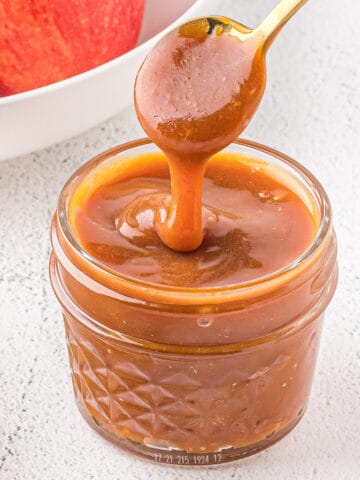
- Dairy-free caramel sauce
- Dairy-free fudge sauce
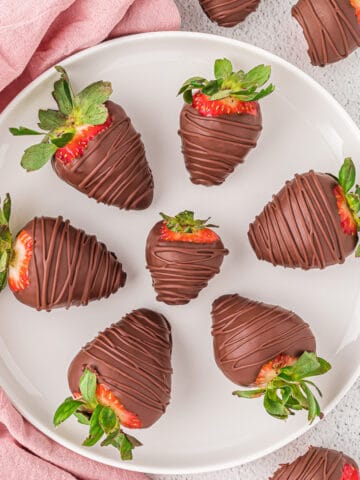
- Melted dairy-free chocolate chips: Pour the melted chocolate over the brownies right before serving.
🔪How to Make Dairy-Free Brownies
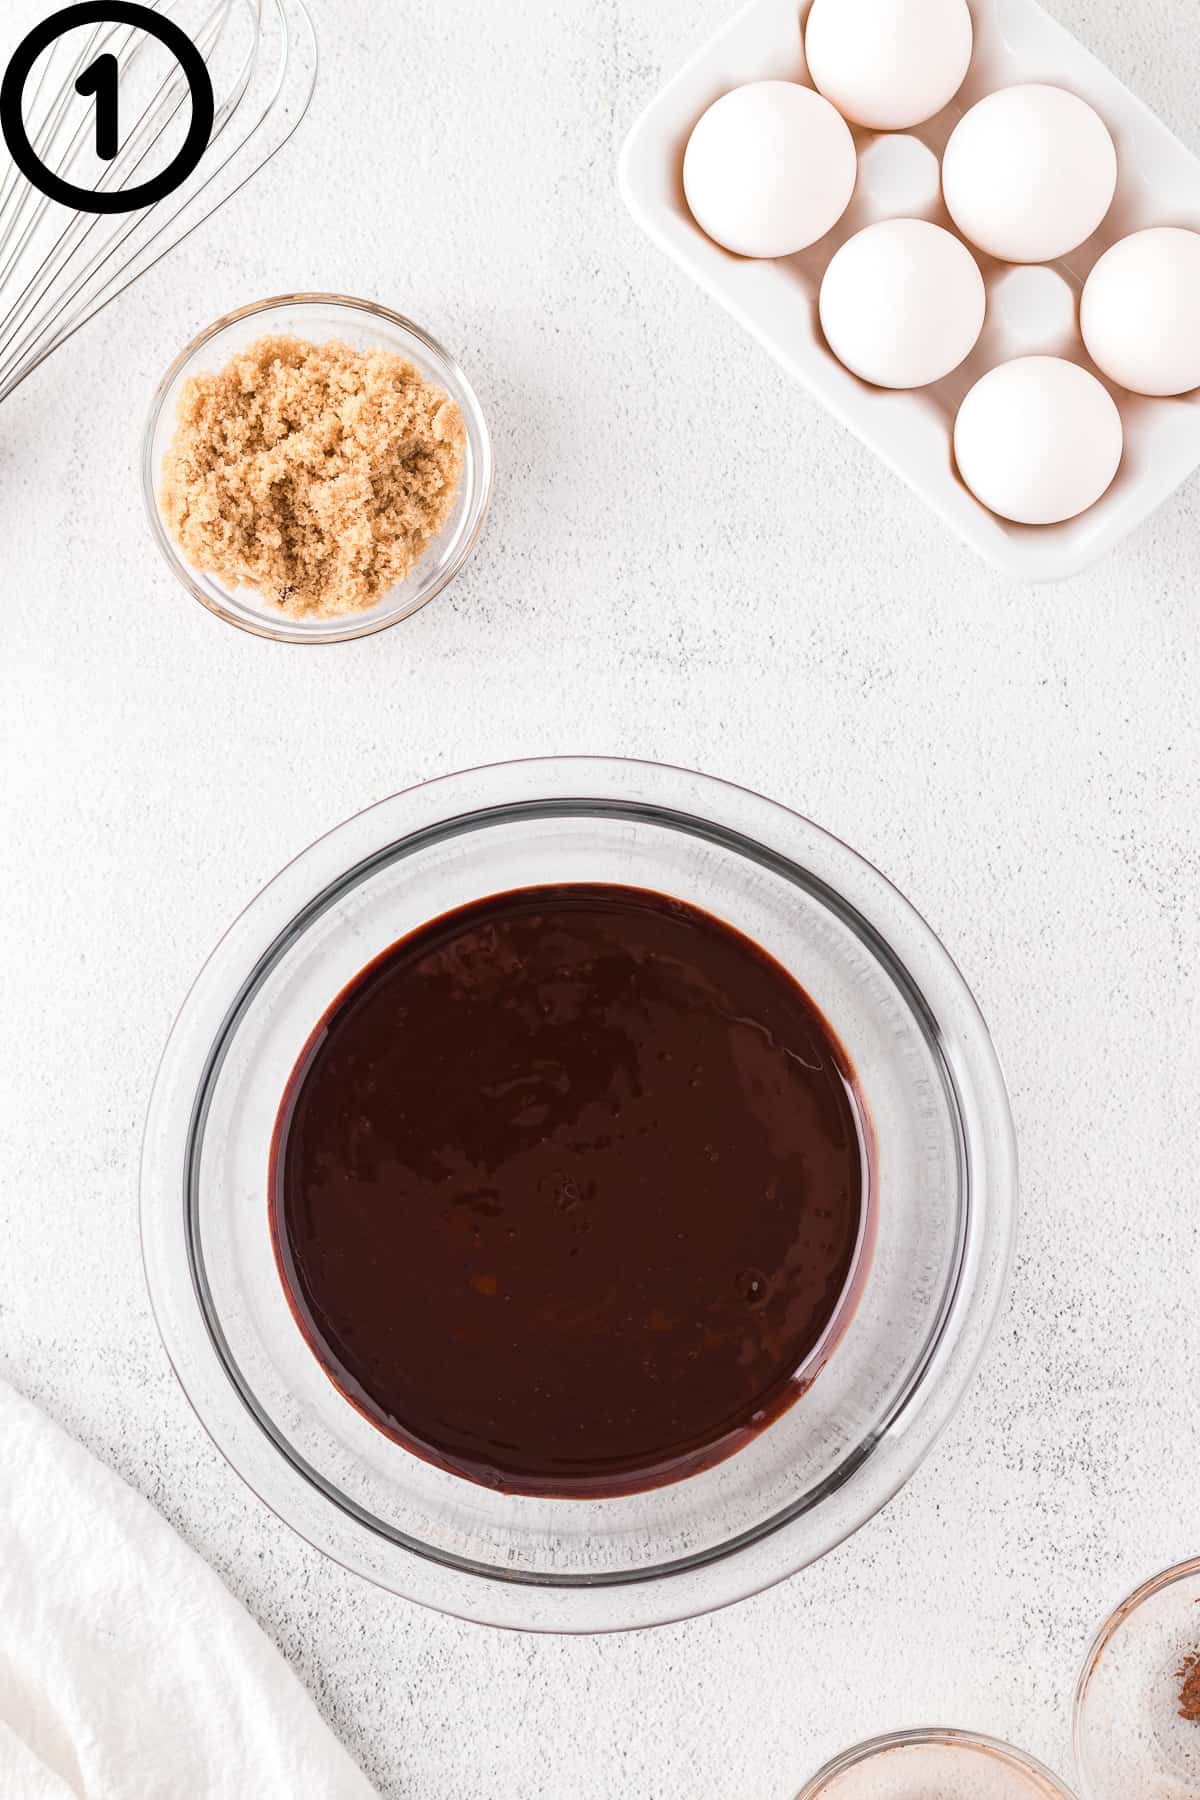
- Melt the butter in a small pot over the stove. Dissolve the instant coffee in about ½ teaspoon of hot water. Pour the butter into a small mixing bowl and add the chocolate chips, instant coffee, and cocoa powder. Then mix until completely melted and combined. The butter shouldn't be too hot to burn the chocolate.

2. In another medium-sized mixing bowl, beat the eggs and the brown sugar for about 1 minute.

- Next, combine the melted chocolate with the sugar and eggs. Add the vanilla and salt, and then sift the flour and cornstarch. With a hand mixer, mix until well combined.

4. Grease a metal 8x8 brownie pan with butter and then line it with parchment paper. Pour the brownie batter over it and smooth it out with a spatula. The batter will be very thick. Be sure to evenly spread the batter into the corners.
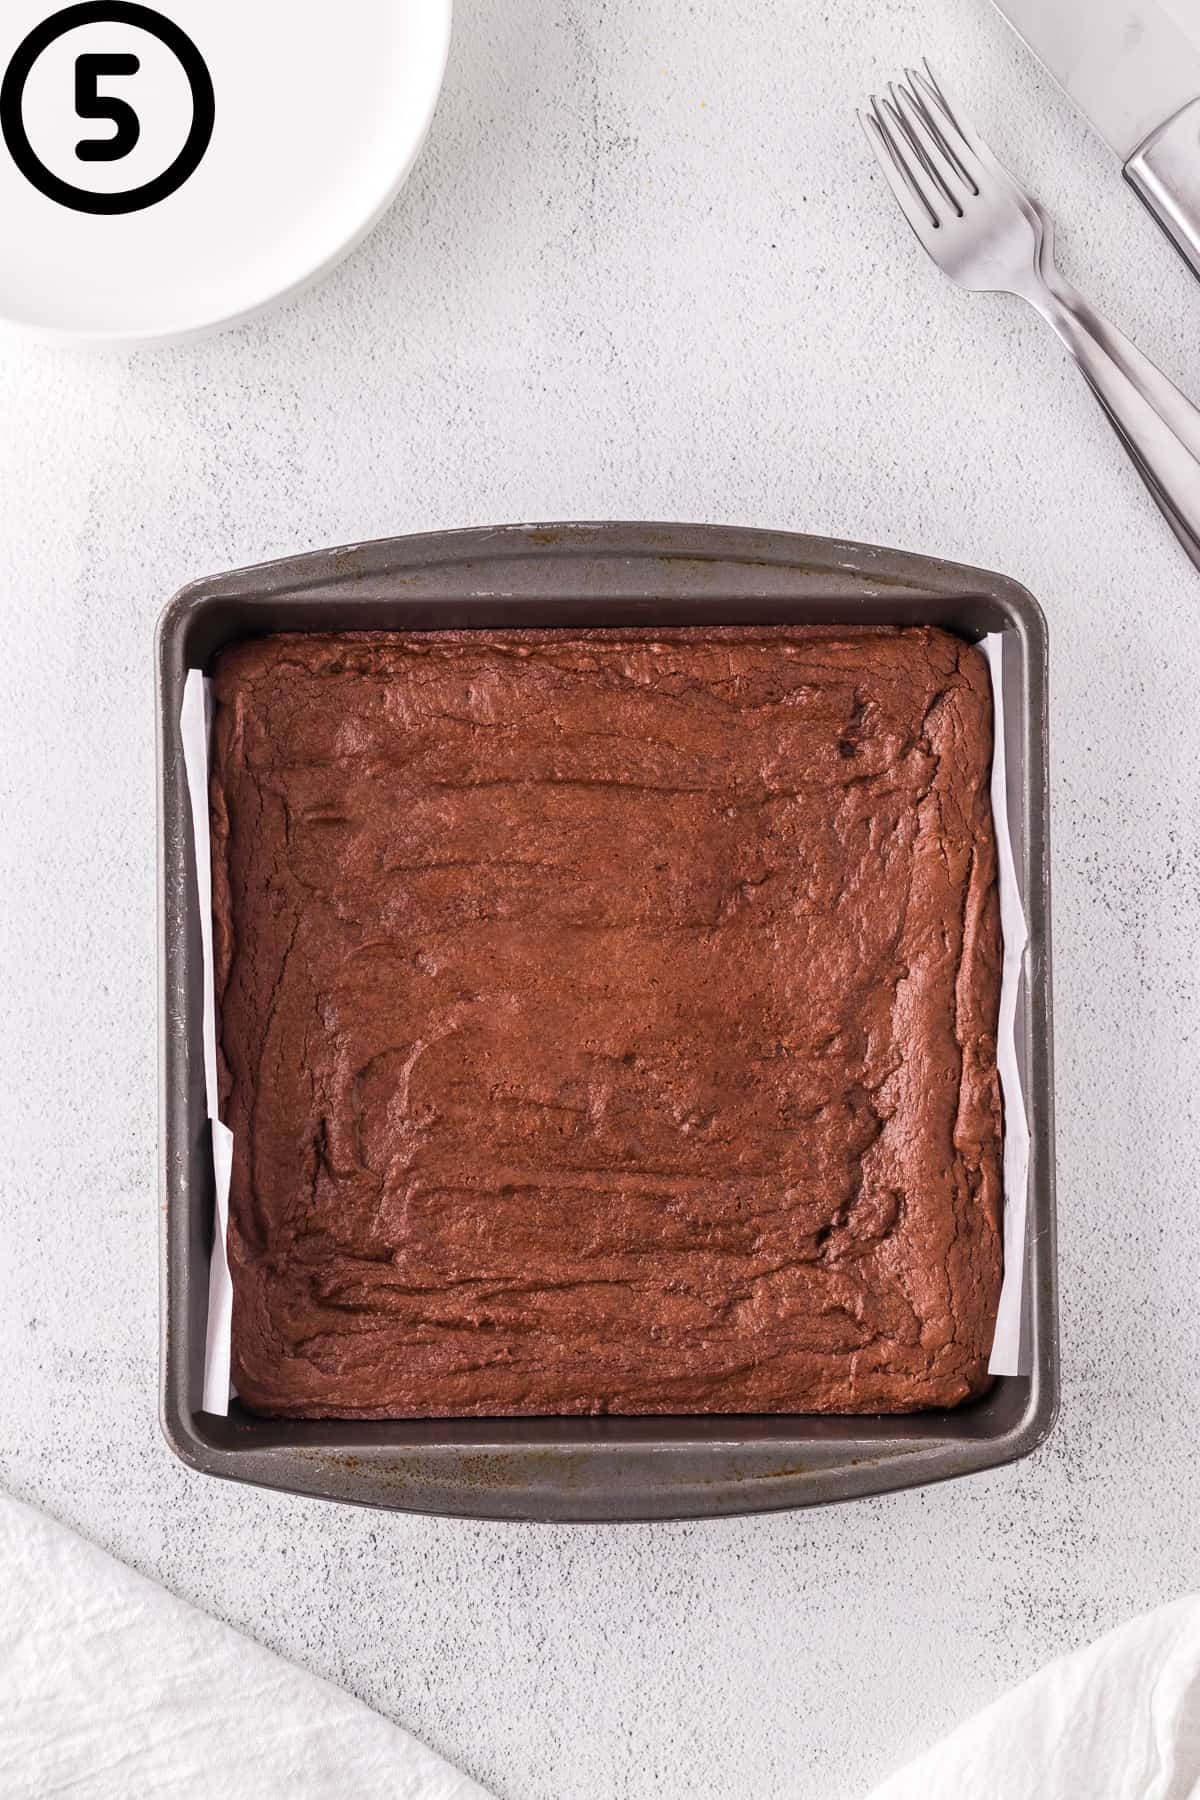
5. Bake for 25 to 30 minutes at 350 degrees Fahrenheit or until a toothpick comes out with a wet crumb (not completely wet batter).
6. Let the brownies cool in the pan before removing and slicing. You may need to use a butter knife to separate the brownie from the sides of the pan. Enjoy!

🧊Storing
Dairy-free chocolate brownies can be stored in an airtight container at room temperature for 2 to 3 days or up to 5 days in the refrigerator. To freeze them, place them in an airtight container, or a freezer-safe ziplock bag and freeze for up to 2 months.
✅Pro Tips
- Don't use a glass pan: Always use a metal 8x8 pan.
- Don't over-bake them: It's okay to under-bake them just a little. They will continue to cook as they cool down after being removed from the oven.
- Use parchment paper to line the pan: This makes it easier to remove them from the pan for even slicing.
- Slice them with clean lines: To keep the brownies from crumbling as you slice them, either use a plastic knife or cool them in the refrigerator for about an hour.
⁉️Frequently Asked Questions
Yes. Use ¾ cup (or 134 grams) of gluten-free all-purpose flour like Bob's Red Mill 1:1 Baking Flour instead of the all-purpose flour.
Yes. Several brands offer dairy-free brownie mixes. Ghirardelli has a dark chocolate brownie mix that is dairy free, as well as Pillsbury, Betty Crocker's Dark Chocolate Brownie Mix, Duncan Hines Dark Chocolate Fudge Brownie Mix, Krusteaz, and Bob's Red Mill. Make sure to read the ingredient list on the back to be safe, and check for cross-contamination labels if necessary.
Grease the bottom and sides of the pan with butter. Then, cut a strip of parchment paper to the width of the brownie pan, letting the ends of the paper hang off. Press it into the bottom of the pan and make creases where the edges are. Trim some of the overhangs if necessary. You only need enough to lift the brownies out of the pan. The paper should not be long enough to fold back against the brownie batter while baking.
Insert a toothpick in the center of the pan. If it comes out with a wet crumb (not a wet batter), that's perfect for a fudgy brownie. You can also use a food thermometer to check the internal temperature (make sure the thermometer doesn't touch the bottom of the pan). A fudgy brownie will usually read 165 degrees Fahrenheit to 185 degrees Fahrenheit. This recipe comes out perfectly fudgy and chewy at around 210 degrees Fahrenheit.
⭐️Before you go! If you enjoyed this recipe for my Dairy-Free Brownies, leave a review and let me know. I'd love to hear if you make them!
📖 Recipe
Dairy-Free Brownies
Ingredients
- ¾ cup non-dairy stick butter 1 ½ sticks (or 148 grams)
- ½ cup semi-sweet chocolate chips dairy-free (87 grams)
- ½ cup cocoa powder (52 grams)
- 1 ½ cups light brown sugar packed (315 grams)
- 2 eggs
- ¾ cup all-purpose flour packed and leveled (134 grams)
- ¼ teaspoon salt
- 2 teaspoons vanilla extract
- 1 tablespoon cornstarch
- 1 teaspoon instant coffee dissolved in ½ teaspoon of hot water
Instructions
- Melt the butter in a small pot over the stove. Dissolve the instant coffee in about ½ teaspoon of hot water. Pour the butter into a small mixing bowl and add the chocolate chips, instant coffee, and cocoa powder. Then mix until completely melted and combined. The butter shouldn't be too hot to burn the chocolate.
- In another medium-sized mixing bowl, beat the eggs and the brown sugar for about 1 minute.
- Next, combine the melted chocolate with the sugar and eggs. Add the vanilla and salt, and then sift the flour and cornstarch. With a hand mixer, mix until well combined.
- Grease a metal 8x8 brownie pan with butter and then line it with parchment paper. Pour the brownie batter over it and smooth it out with a spatula. The batter will be very thick. Be sure to evenly spread the batter into the corners.
- Bake for 25 to 30 minutes at 350 degrees Fahrenheit or until a toothpick comes out with a wet crumb (not a completely wet batter).
- Let the brownies cool in the pan before removing and slicing. You may need to use a butter knife to separate the brownie from the sides of the pan. Enjoy!
Notes
- I use Country Crock Butter with Olive Oil. I think it has that best flavor. Use a non-dairy butter that you like the taste of.
- To keep the brownies from crumbling as you slice them, either use a plastic knife or cool them in the refrigerator for about an hour.
- These can be stored in an airtight container at room temperature for 2 to 3 days or up to a 5 days in the refrigerator. You can also freeze them in a freezer safe container or ziplock.
- For gluten-free brownies, use ¾ cup (or 134 grams) of gluten-free all-purpose flour like Bob's Red Mill 1:1 Baking Flour instead of the all-purpose flour.
Nutrition
Note: The nutrition label is only an estimate. Amounts may vary.

Kristina Jenkins says
Some of the best brownies I’ve ever had. They had a perfect crackled top and were so fudgey in the middle. I will definitely be saving this recipe.
Kayla says
Yay! Thanks so much for the review!