This Dairy-Free Chocolate Recipe is made for snacking! It's the perfect vegan chocolate bar because of how easy and delicious it is to make. The ingredients are simple and you may already have most of them in your pantry.
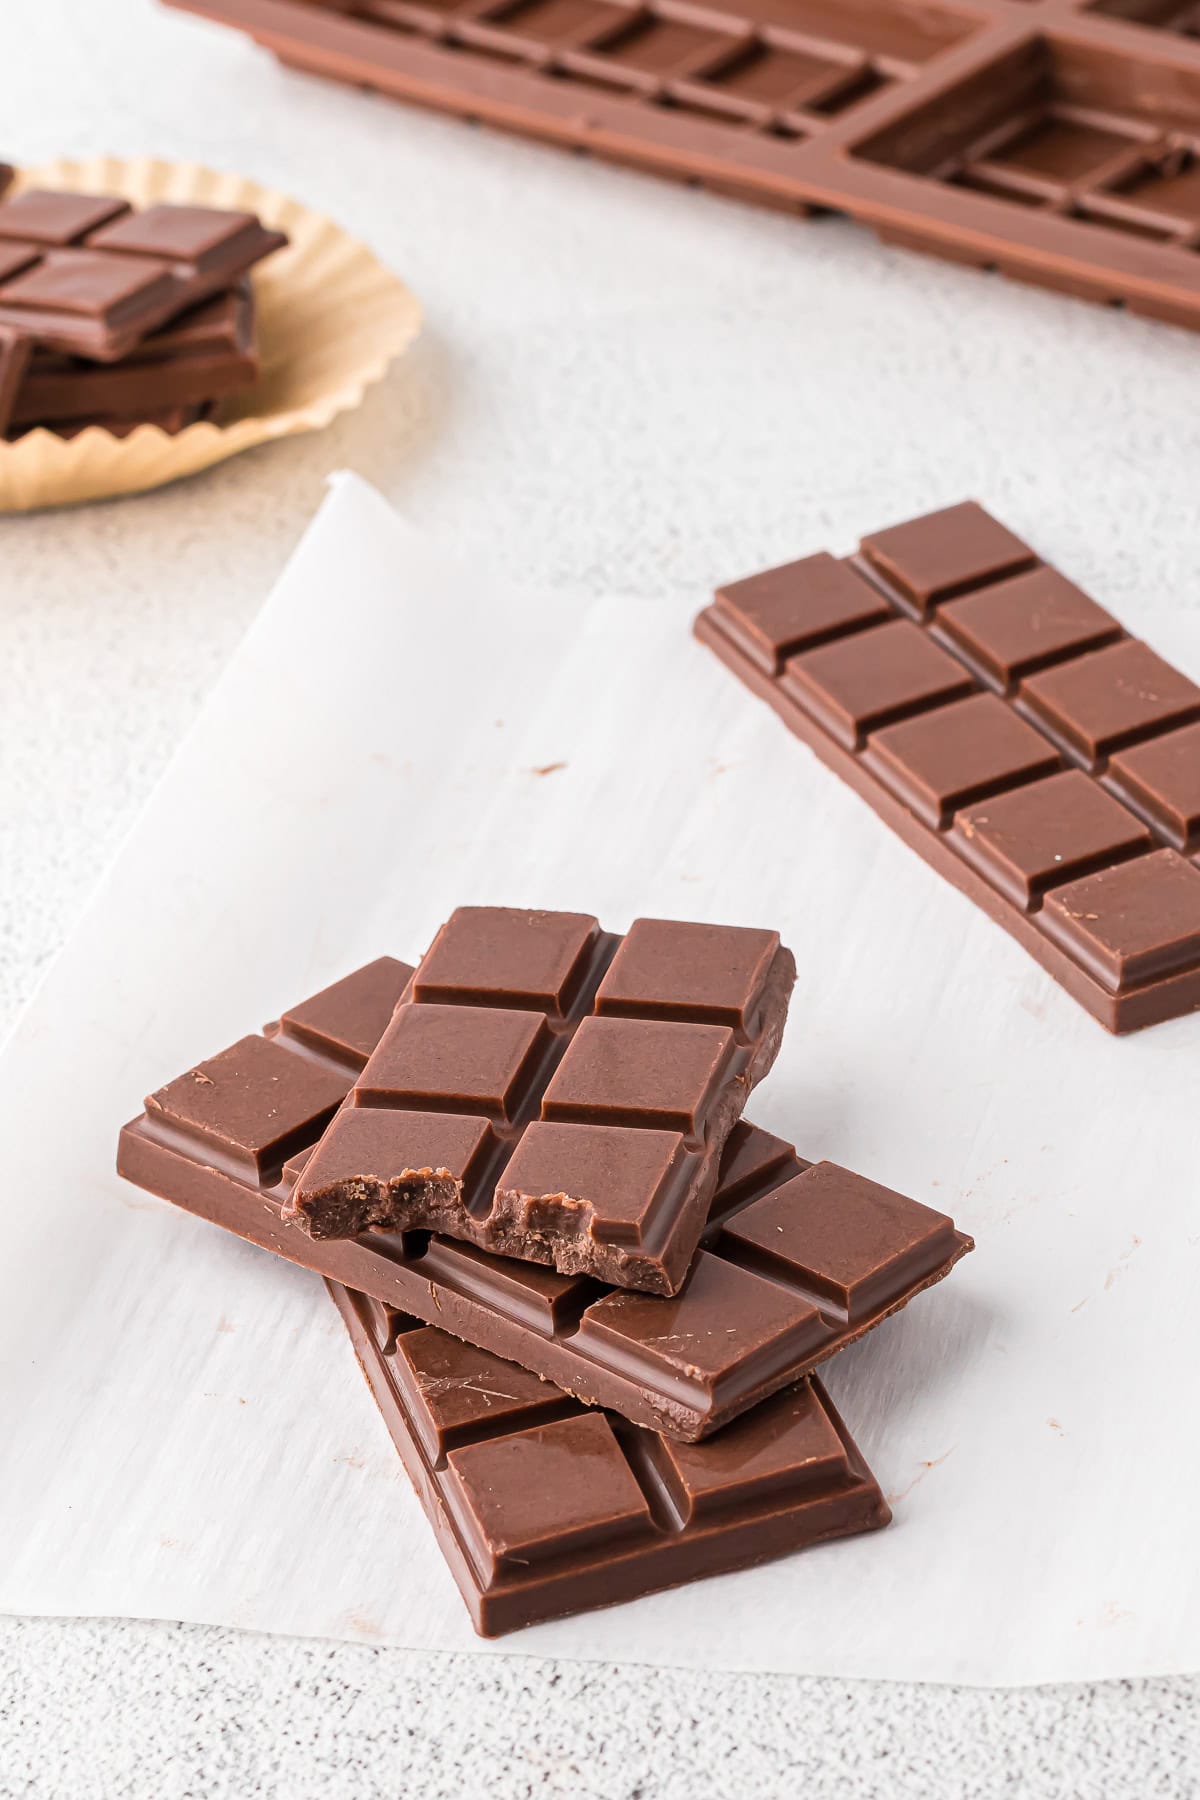
While this bar may not look as milky as a Hershey's Chocolate Bar, or taste the same as one, it's still extra delicious and sweet!
Jump to:

📝Ingredient Notes
- Cocoa powder: You can use regular baking cocoa. I prefer not to use the dark kind because I like my chocolate to have less of a bitter chocolate flavor.
- Coconut oil: I prefer to use more coconut oil than cocoa butter because cocoa butter has a strong flavor and I'm not a huge fan of it. This recipe only uses a couple of tablespoons so the flavor isn't strong. As far as the coconut oil goes, if you don't want to taste any coconut, try using refined coconut oil. It doesn't have a coconut flavor or aroma. The coconut oil should be the kind that solidifies at room temperature, not the liquid kind.
- Cocoa butter: Be sure the cocoa butter you use is food grade. I use the brand called Plant Guru and I purchase it from Amazon.
- Coconut milk powder: The coconut milk powder is what gives it that light, milky flavor. Without the milk powder, it tastes bitter like dark chocolate-- because it is dark chocolate. I like the one by Natural Foods. I don't buy more than 1 pound at a time, though, because it'll take a long time to go through the bag.
🍫Substitutions
- Coconut oil: You can use cocoa butter in place of coconut oil. There are some noticeable differences between cocoa butter and coconut oil. First, cocoa butter has a strong flavor (since it comes from the cocoa plant). It also helps the chocolate not melt as easily in your fingers, and gives it a smoother texture. Coconut oil doesn't have much of a flavor and will melt as you hold on to it.
- Cocoa butter: You can replace the 2 tablespoons of cocoa butter with coconut oil.
- Coconut milk powder: I haven't used any substitutes for coconut milk powder when making this recipe. But I do know that you don't want to use anything that's liquid (such as coconut milk). Liquid and oil do not tend to mix well. In place of coconut milk powder, you can try soy milk powder.
- Powdered sugar: Many recipes use pure maple syrup in place of powdered sugar. I haven't tried it for this recipe, so just add it to taste if you try it.
🥜Variations
- Chopped nuts: Sliced almonds, peanuts, or even hazelnuts will add a delicious crunch to these chocolate bars. Just add a little chocolate to the molds, add in the chopped nuts, and then cover with more chocolate.
- Puffed rice: Puffed rice also adds a delicious texture to a chocolate bar. These can be purchased online from Amazon.
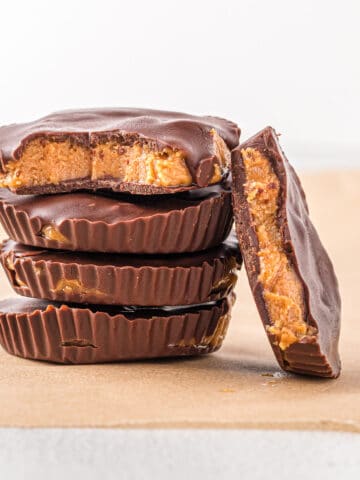
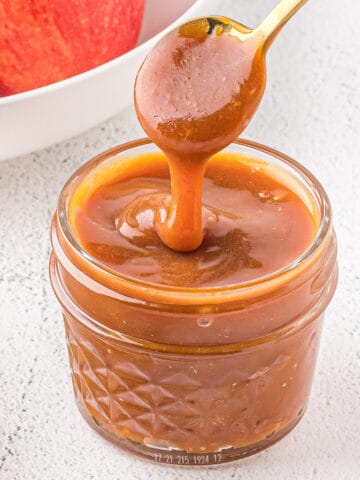
- Dairy-Free Caramel Sauce: This caramel sauce recipe is so delicious in these chocolate bars. You'll want to add a little bit of chocolate in the chocolate bar molds, let it set in the freezer, fill it with the caramel sauce, and then top with more of the melted chocolate. After that, place it back in the freezer until the bars are set.
🥣Equipment
- Chocolate bar molds: I bought these molds here from Amazon.
- Medium-sized pot and a medium/large (heat-safe) glass mixing bowl: I use these to make a double boiler to melt the cocoa butter. You could also heat it in a microwave-safe bowl in short increments.
- Fine mesh strainer (sift)
- High-speed blender
- Silicone spatula
🔪How to Make Dairy-Free Chocolate

- Fill the bottom of a medium-sized pot with about 2 inches of water. Place a heat-safe glass bowl over the top and let the water come to a rolling boil. Add the coconut oil and cocoa butter to the bowl and allow it to melt as you stir with a silicone spoon.

2. Once the coconut oil and cocoa butter are completely melted, sift in the cocoa powder, coconut milk powder, and powdered sugar. Then add a pinch of salt and mix until well combined.

3. Remove from the heat, and stir the chocolate for a couple of minutes.

4. Transfer the melted chocolate to a high-speed blender and blend for 30 seconds to 1 minute. This helps make the chocolate smoother.

5. Set the chocolate bar molds on a tray or baking sheet (this makes transferring easy and mess-free). Pour the chocolate into the molds, then place in the freezer to set for 30 to 45 minutes.

6. Remove from the molds, and store in the refrigerator in an airtight container or Ziploc bag. Enjoy!

🧊Storing
Store leftover chocolate in the refrigerator in an airtight container or Ziploc for 2 to 3 weeks. They can also be stored in the freezer, but never at room temperature. They will become too soft and can melt.
✅Pro Tips
- Sift the powders: Use a fine mesh strainer to sift the powders. This helps to ensure the mixture remains lump-free. It will also keep out any hard clumps of coconut milk powder that can form in the bag.
- Blend the chocolate mixture: With all of the powders used in this recipe, the chocolate can be a tad on the grainy side. While you don't have to blend the mixture, it's recommended. Blending makes the mixture smoother and much less grainy.
- Keep it refrigerated: This chocolate will soften too much at room temperature. Keep it refrigerated. If you want the chocolate bar to be a little bit softer, leave it on the counter for about 10 minutes before eating.
⁉️Frequently Asked Questions
While I haven't used it myself, soy milk powder should work just as well as coconut milk powder.
Many recipes use pure maple syrup in place of powdered sugar. I haven't tried it for this recipe, so just add it to taste if you try it.
You could, but I don't recommend it. The chocolate is a thinner consistency once melted, and it melts very quickly. It's not ideal for dipping or baking, but it is perfect for snacking!
🍩More Chocolate Recipes


⭐️Before you go! If you enjoyed this recipe for Dairy-Free Chocolate Recipe, leave a recipe rating below! You can also take a picture and tag me on instagram. 📸
📖 Recipe

Dairy-Free Chocolate Recipe
Equipment
- High speed blender
- medium-sized pot
- Glass bowl (medium/large-sized, heat safe)
- Fine mesh strainer (sift)
- Chocolate bar molds
- Silicone spatula
Ingredients
- ¼ cup plus 2 tablespoons refined coconut oil (83 grams)
- 2 tablespoons cocoa butter (16 grams)
- 2 tablespoons cocoa powder (17 grams)
- ¼ cup coconut milk powder (30 grams)
- ¼ cup powdered sugar (47 grams) or to taste
- pinch of salt to taste
Instructions
- Fill the bottom of a medium-sized pot with about 2 inches of water. Place a heat-safe glass bowl over the top and let the water come to a rolling boil. Add the coconut oil and cocoa butter to the bowl and allow it to melt as you stir with a silicone spoon.
- Once the coconut oil and cocoa butter are completely melted, sift in the cocoa powder, coconut milk powder, and powdered sugar. Then add a pinch of salt and mix until well combined.
- Remove from the heat, and stir the chocolate for a couple of minutes. Transfer the melted chocolate to a high-speed blender and blend for 30 seconds to 1 minute. This helps make the chocolate smoother.
- Set the chocolate bar molds on a tray or baking sheet (this makes transferring easy and mess-free). Pour the chocolate into the molds, then place in the freezer to set for 30 to 45 minutes.
- Remove from the molds, and store in the refrigerator in an airtight container or Ziploc bag. Enjoy!
Notes
- Store chocolate bars in an airtight container or a Ziploc bag in the refrigerator for 2 to 3 weeks.
- If you're interested in adding anything to these chocolate bars, (like dairy-free caramel sauce) check out the heading in this post titled "Variations".
- If you want to make sure you can't taste a hint of coconut, use refined coconut oil. It doesn't have a coconut flavor/aroma.
- You may use cocoa butter in place of coconut oil, although there is a noticeable difference between the two. Cocoa butter has a stronger flavor and also doesn't melt in your hands as much as the coconut oil will. If you use coconut oil, be sure it is the kind that solidifies at room temperature, not the liquid kind.
- I don't recommend using this chocolate for dipping or baking. The chocolate is a thinner consistency once melted, and it melts very quickly. It's not the most ideal for dipping or baking, but it is perfect for snacking!
Nutrition
Nutrition Disclaimer: The nutrition label is only an estimate. Amounts may vary based on the products used and different nutrition calculators. If tracking nutrition information is important to you, it's recommended that you plug these ingredients into an online nutritional calculator.
Comments
No Comments