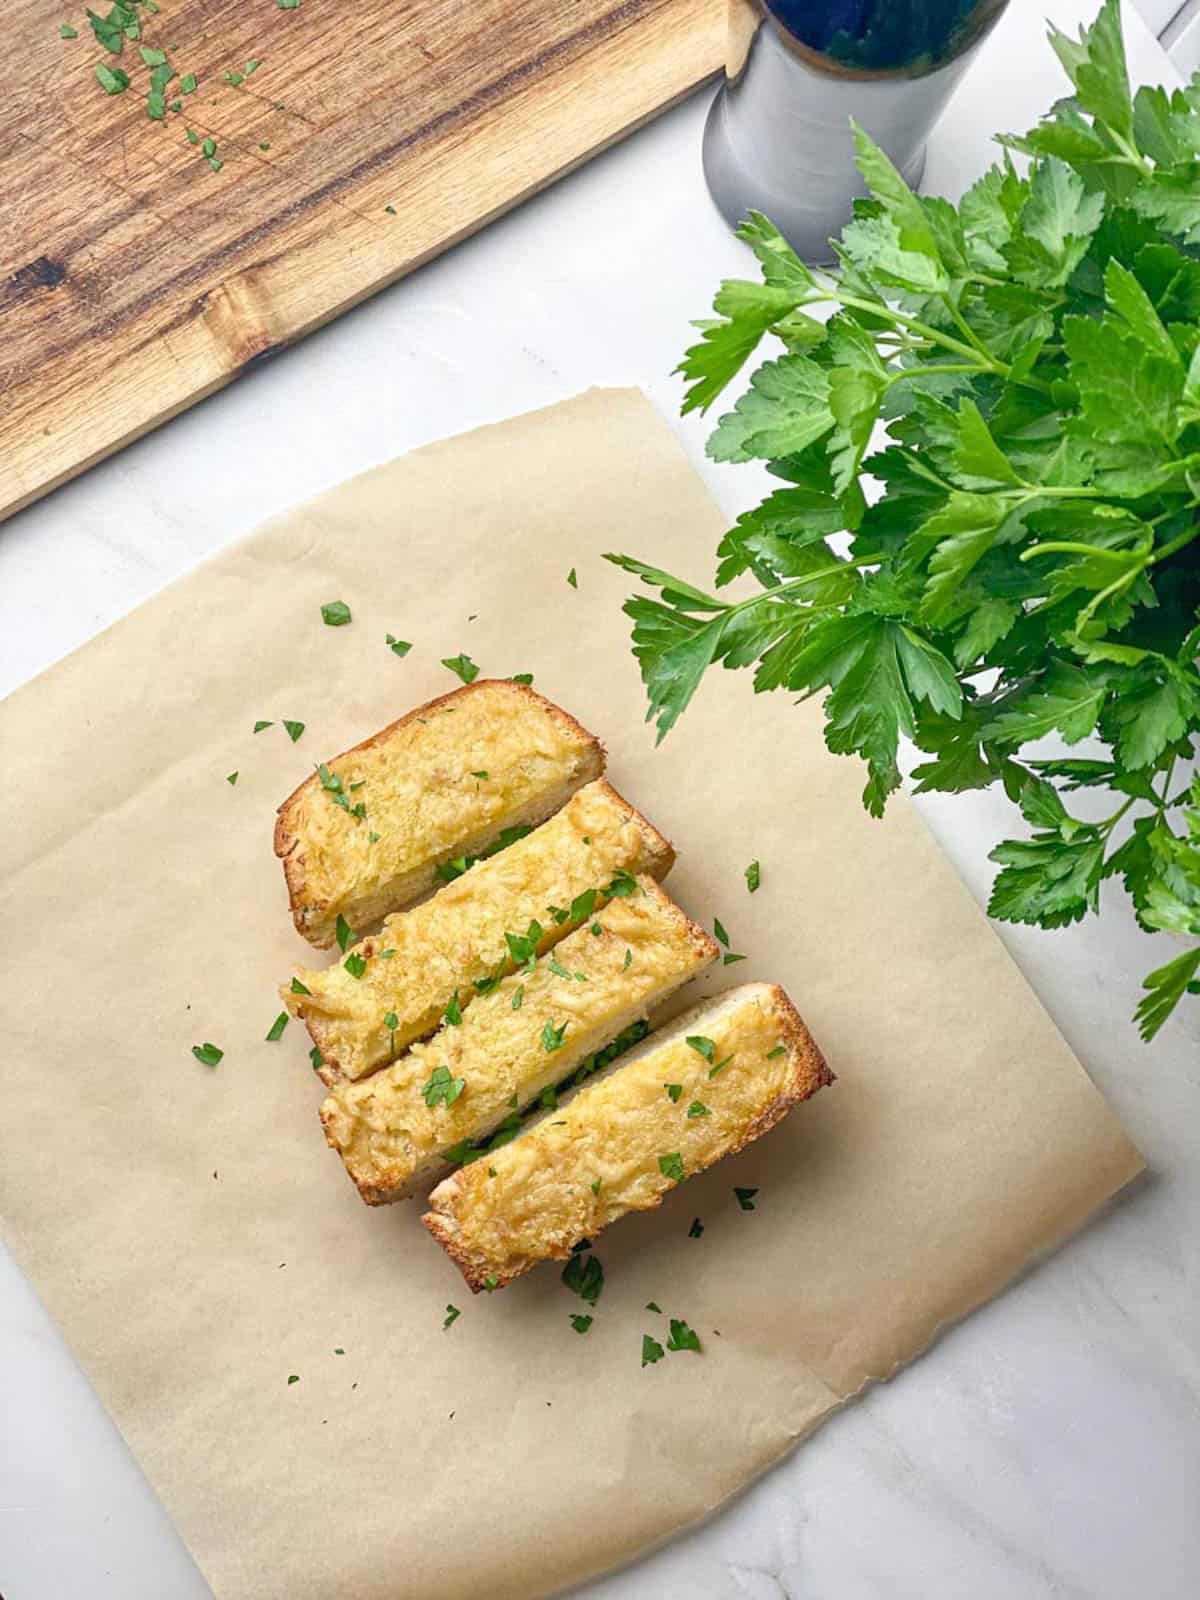
Two things I cannot live without are bread and garlic. Two things you should definitely be eating together? Bread and garlic. But how you prepare it is key. I am obsessed with this healthier garlic bread because I use roasted garlic to make it!
Jump to:
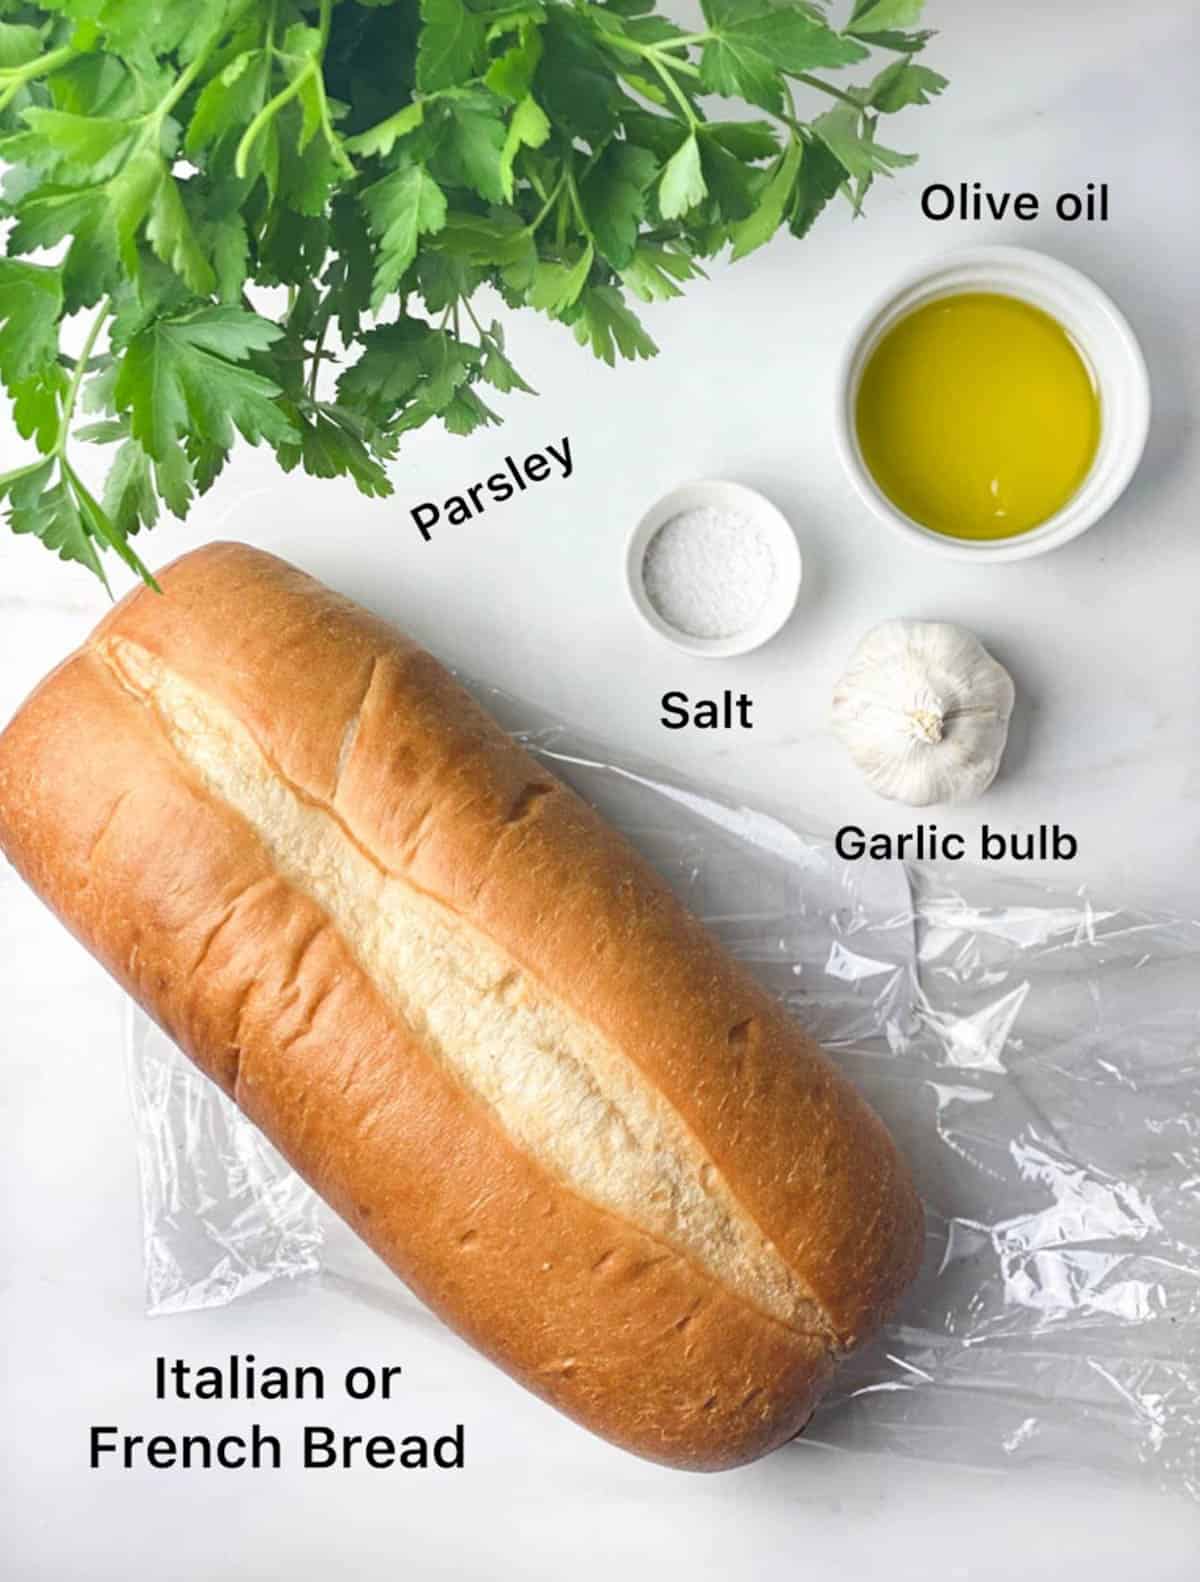
📋 Ingredients
Italian bread or French bread
Extra virgin olive oil
Bulb of garlic
Salt
Parsley
🥖 Substitutions
Bread- I use either Italian bread or French bread, depending on what I can get at my local grocery store. Do note, however, that the sizes and texture are a bit different. Italian bread is shorter, plumper, and can have a harder crust with a dense crumb (inside). French bread is longer, narrower and can be hard and crusty on the outside with a soft inside. Both work very nicely for this recipe!
Oil- if you prefer, and aren't interested in a healthier alternative, you could definitely use your favorite softened vegan butter in place of the olive oil. My favorite vegan butter is country crock with avocado oil.
🧄 Why Roast the Garlic?
When you roast a bulb of garlic in the oven, it takes away the pungent smell and flavor that a raw garlic clove has, and leaves you with a milder smell and flavor. Roasted garlic is very aromatic and delicious. It can be easily mashed and spread on top of bread as is, but in this recipe we'll add just a couple more ingredients to up the flavor and texture of this healthier garlic bread.
🔪 Instructions
Preheat the oven to 350 degrees Fahrenheit.
Take a bulb of garlic and slice the top off, exposing the cloves and leaving the root (the 'hairy' or stringy part) in tact.
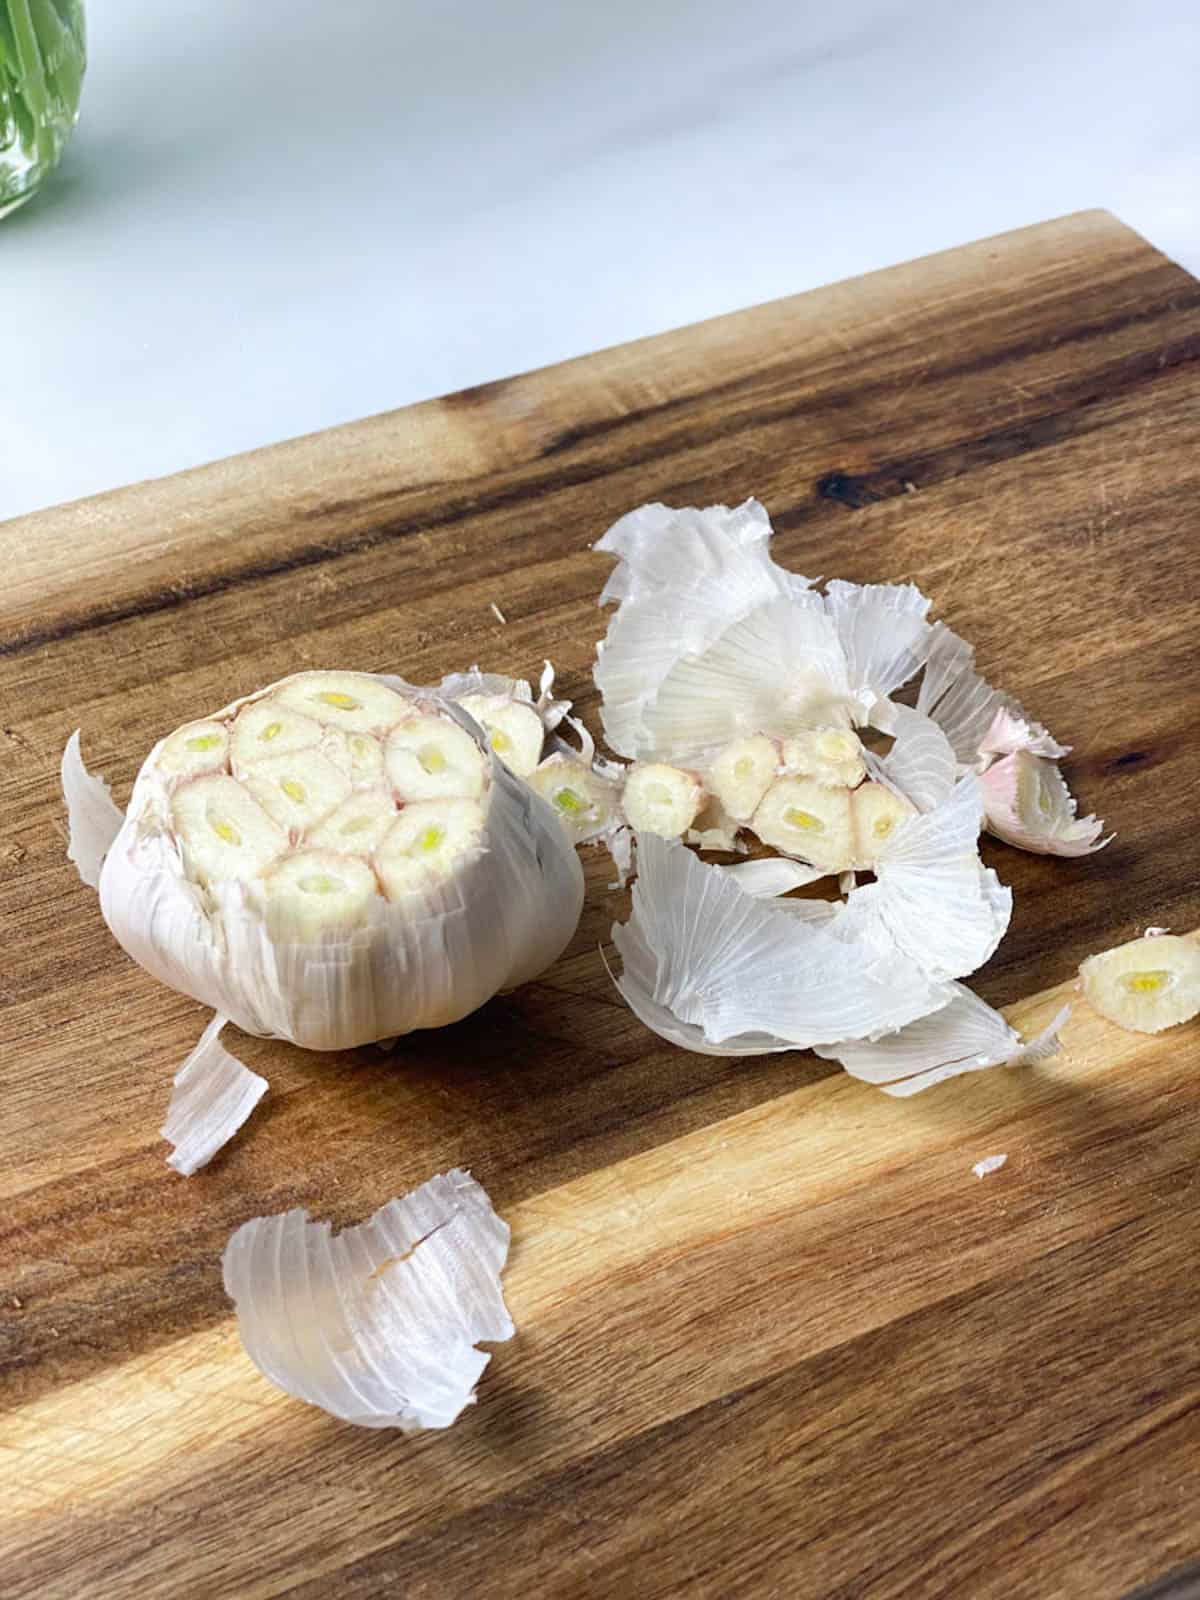
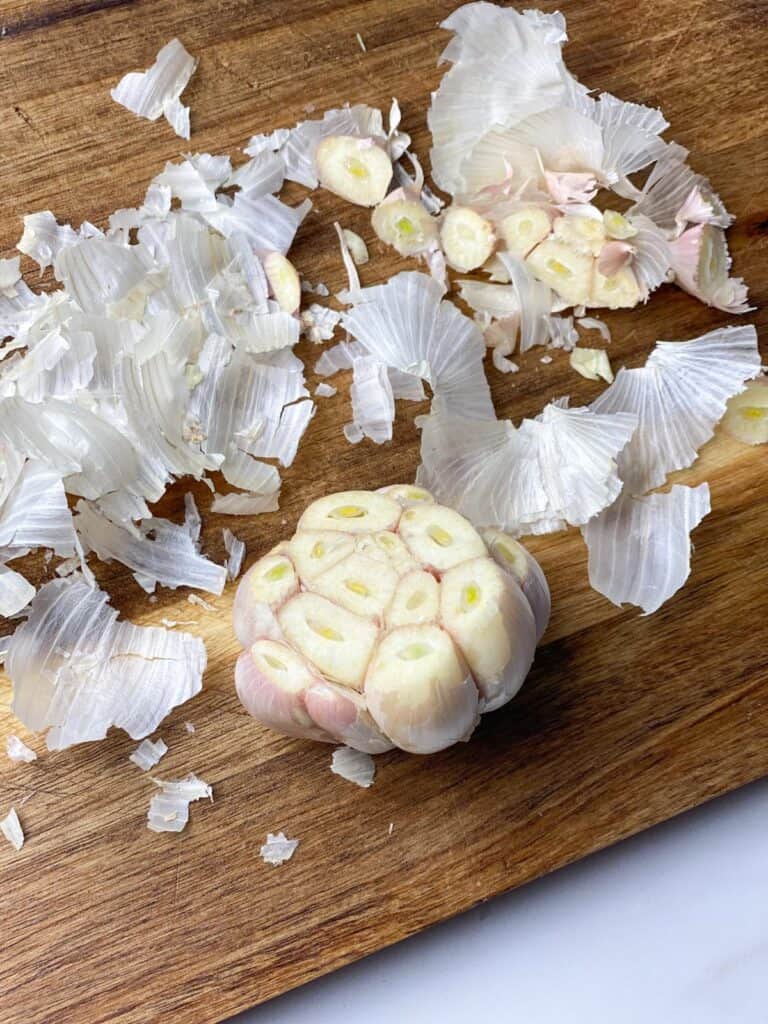
Peel off some of the skin, leaving just enough on to where the cloves don't fall off the bulb. When you peel away the excess skin, you may have cloves that remain uncut from the initial slice. I like to cut the tips off of them just to make it easier for later.
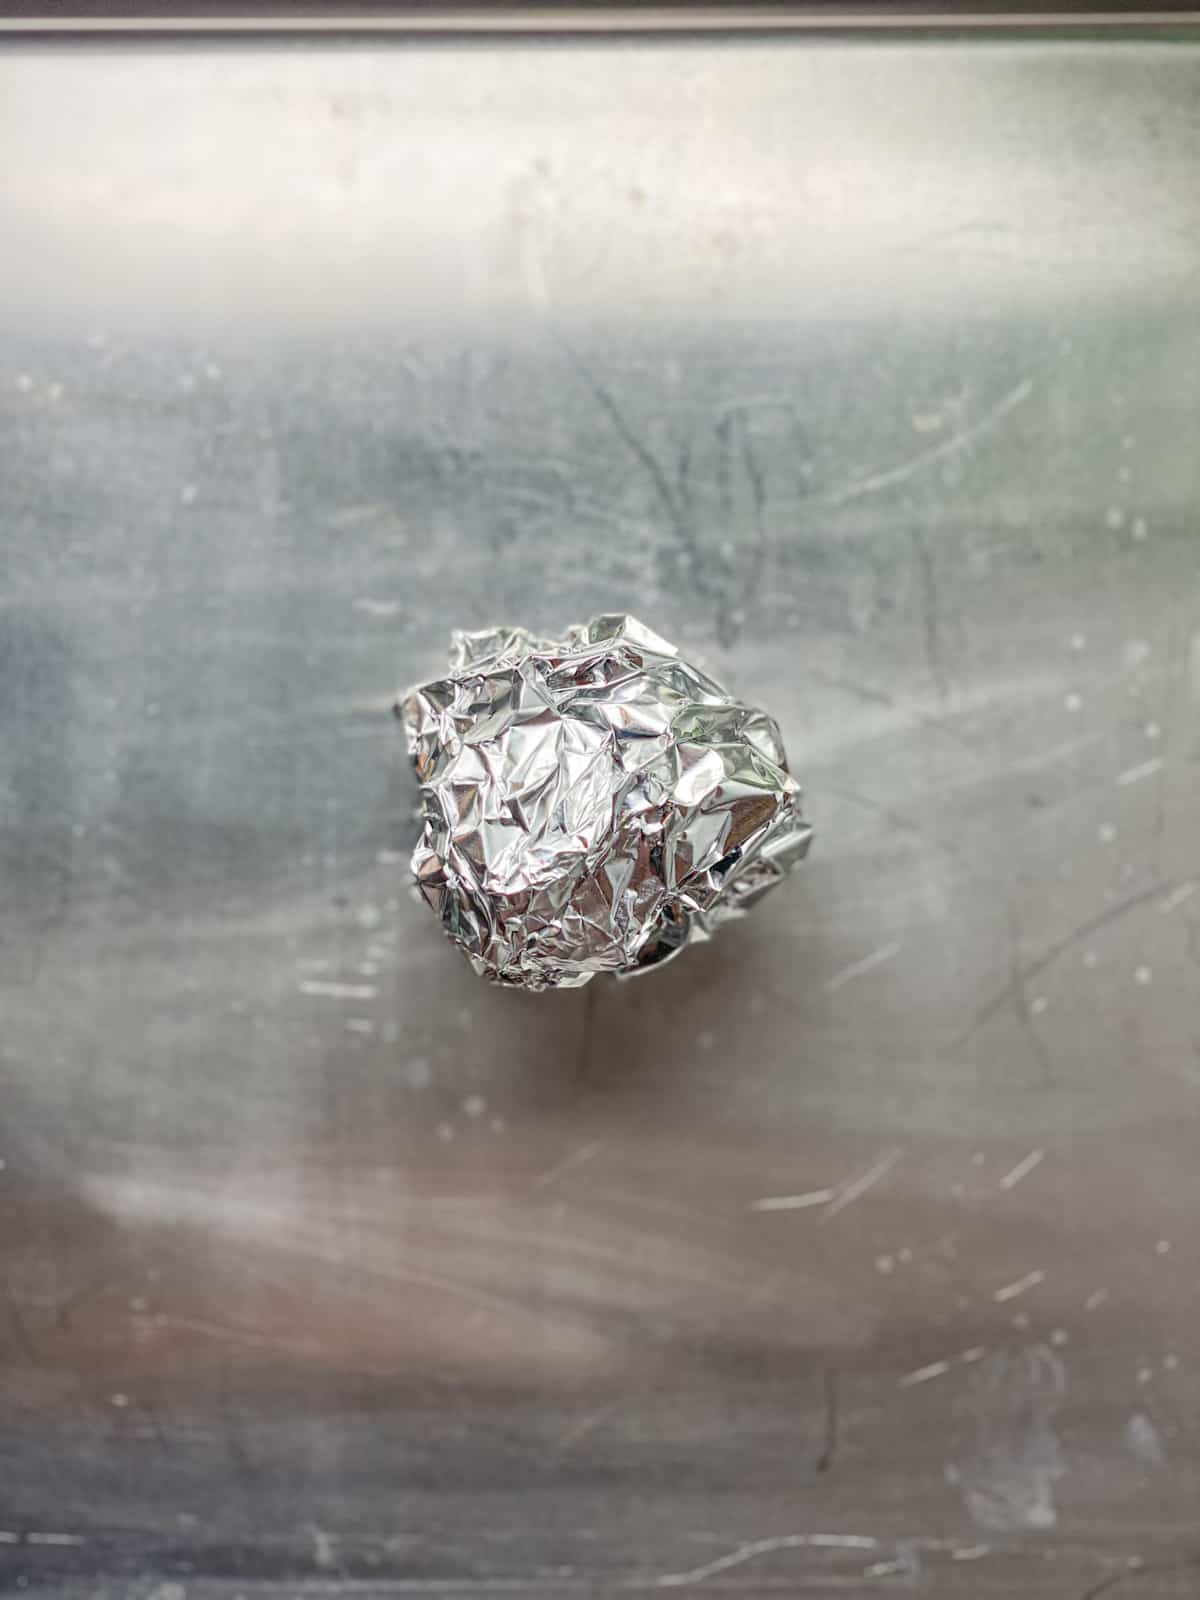
Take a small piece of foil and place the bulb of garlic on top. Drizzle with a little extra virgin olive oil (about a teaspoon) and a pinch of salt.

Cover with foil and place on a baking sheet.
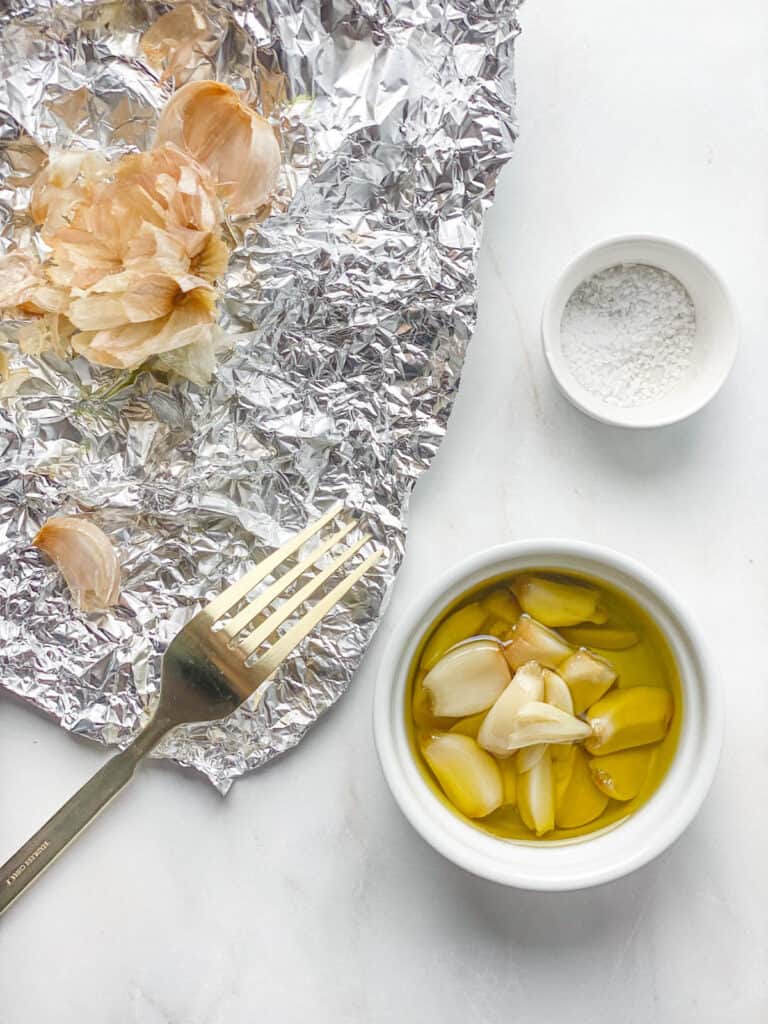
Bake for 35 minutes, until the garlic cloves are soft and mushy.
Let the bulb cool and then squeeze the garlic cloves out of the bulb and into a bowl. Add the olive oil and a pinch of salt.
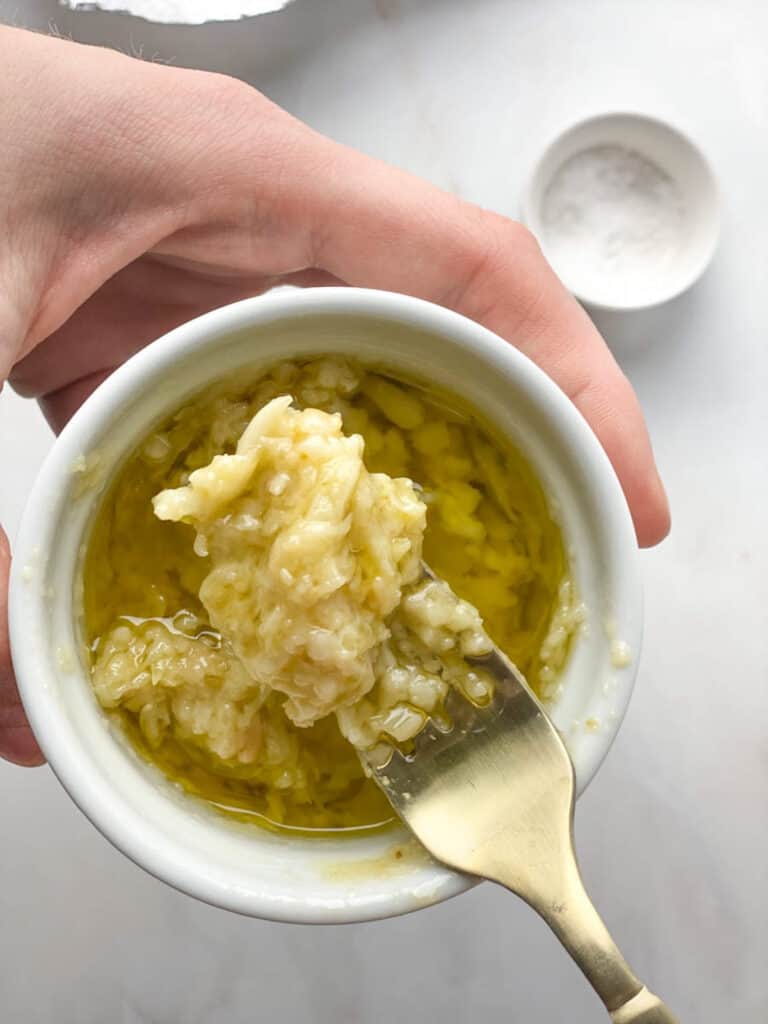
Then mix until you have a mushy garlic mixture.
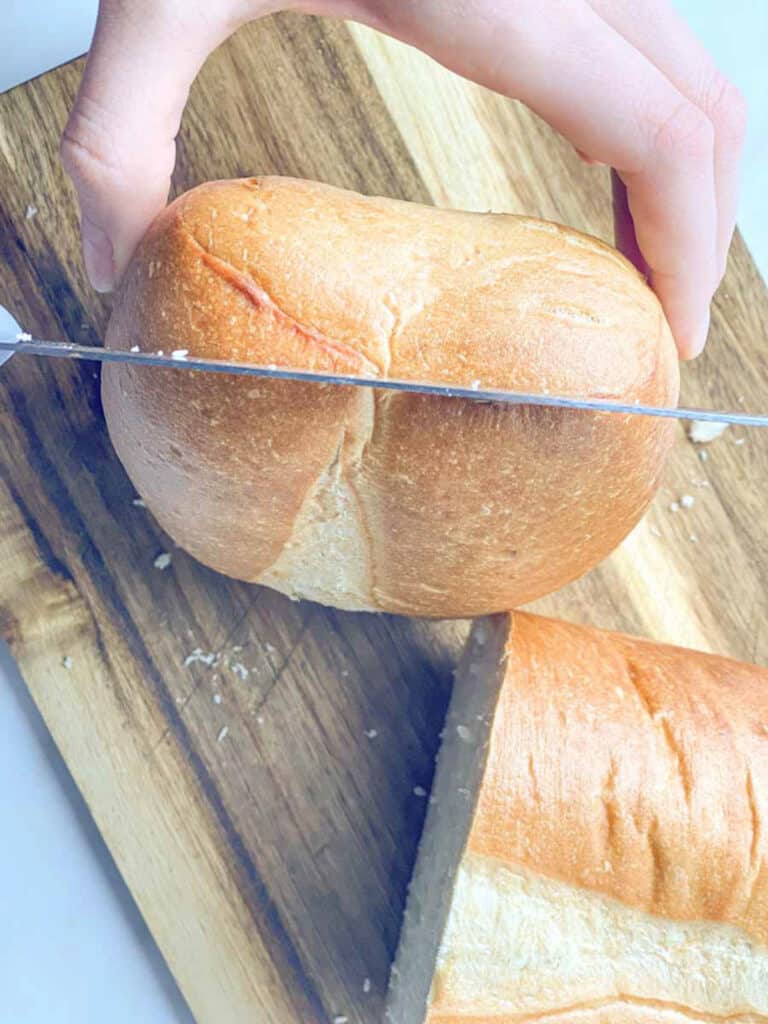
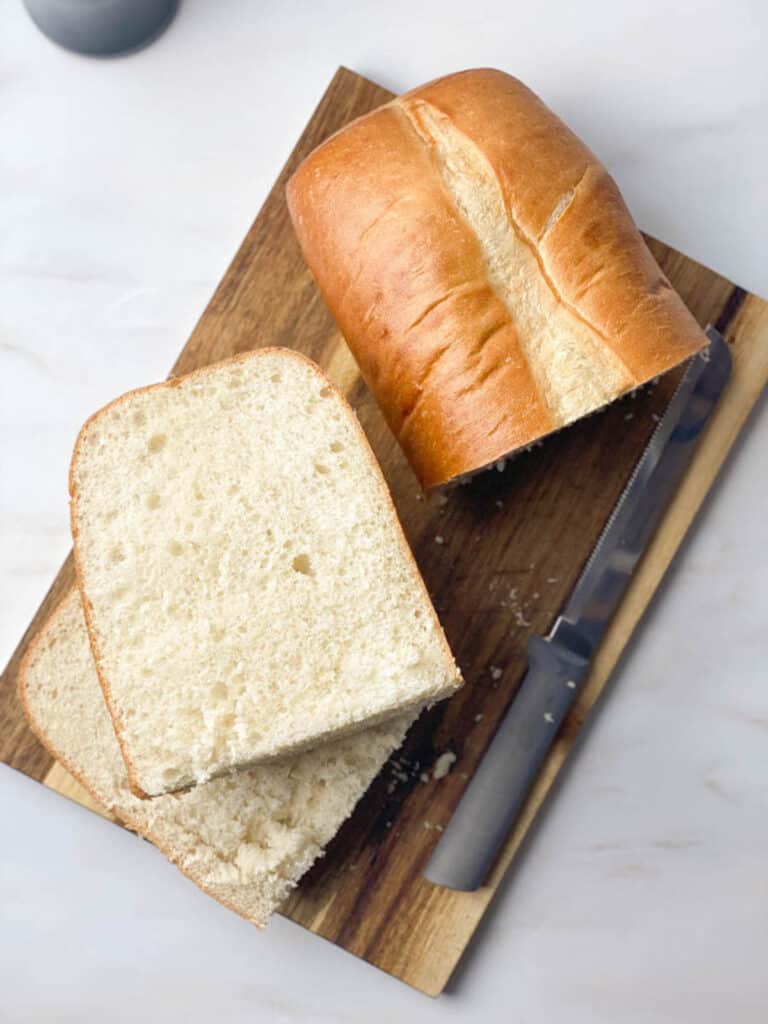
Slice the bread in half widthwise.
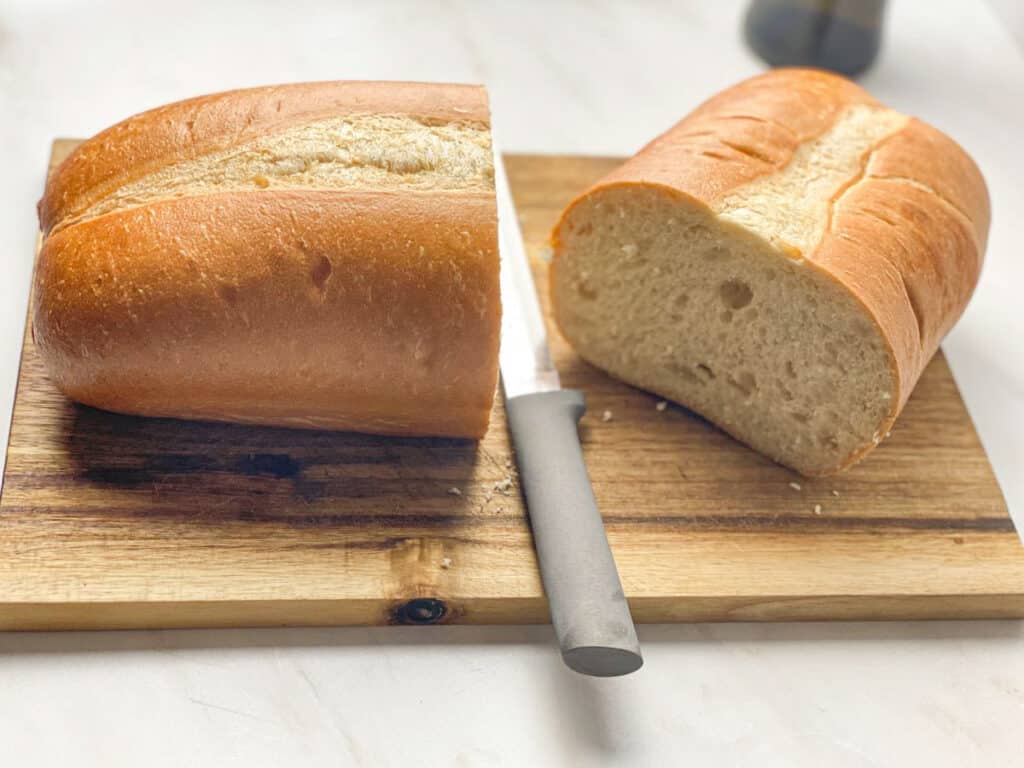
Next, slice the bread lengthwise with a bread knife so that you are left with ¼ of the loaf.
Take one of these half loaves to use and freeze the rest for later.
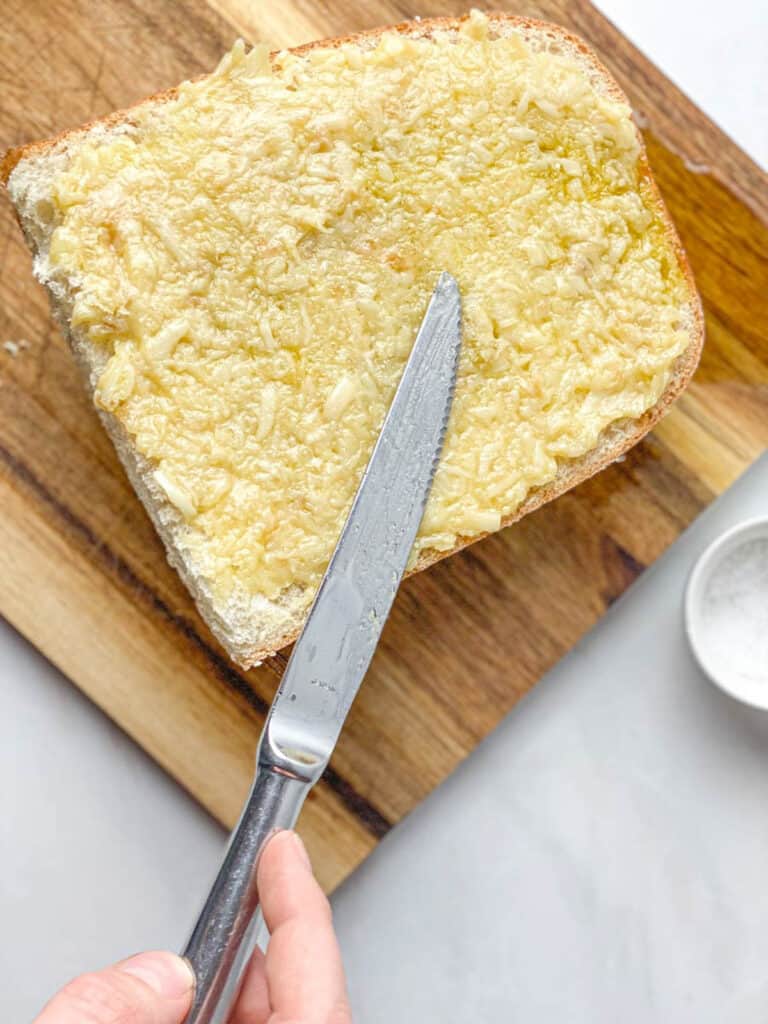
Spread the mixture on the bread.
Bake at 425 degrees Fahrenheit on a baking sheet for 8-10 minutes or until golden and crisp on the inside and outer crust. When checking the bread in the oven, make sure you are checking the sides of the bread rather than the top. The garlic mixture doesn't brown well, unless you broil it for a minute. But the bread itself will of course brown, so it's important to make sure it doesn't burn!
If desired, broil for one minute with the oven door open. Stand next to it and watch it to prevent any burning.
Top with fresh parsley, and slice once cool enough to handle.
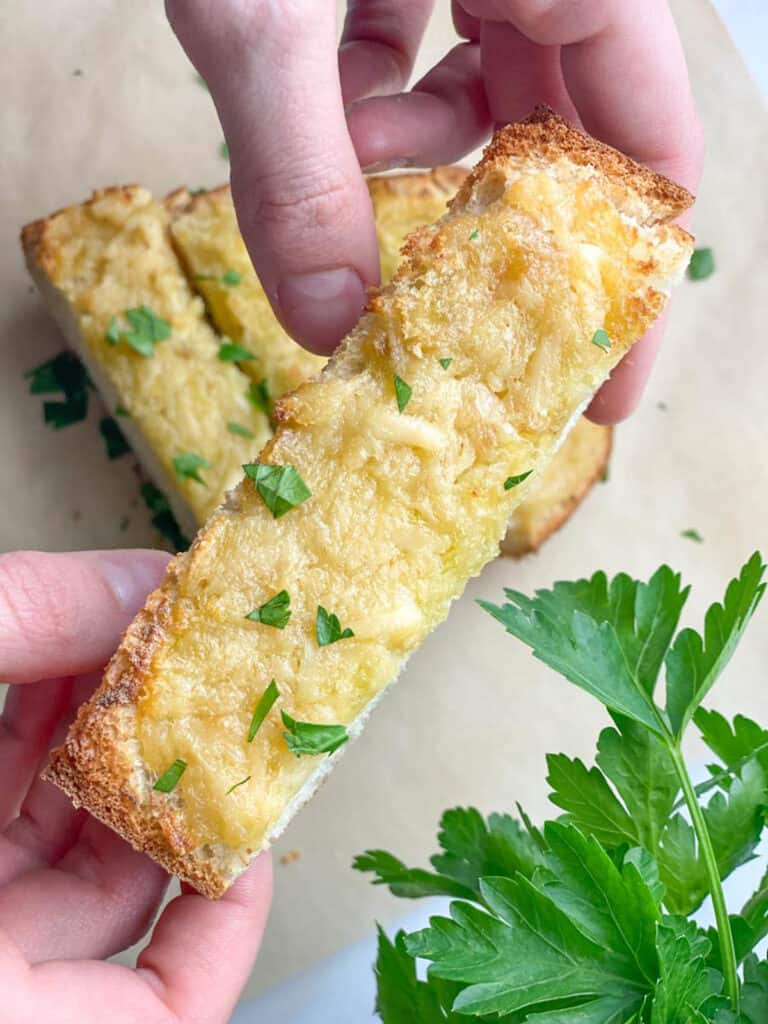
Enjoy!
🧊 Storing
This garlic bread is best enjoyed fresh. However, you can leave it on the counter for a couple of days in an airtight container. When you're ready to eat, I would toast it again in the oven at 425 degrees Fahrenheit for a few minutes until warm and crisp. The oils will sit and soak into the bread which is why you'll want to toast it again.
Keep reading to see the preferred method for storing.
Yes! My preferred method for leftovers is to freeze and then reheat in the oven when ready to eat. This also helps prevent the oils from soaking into the bread, making it more oily.
If you'd like to freeze the bread after it's been cooked, let it come to room temperature before putting in a ziplock bag to freeze. When you're ready to enjoy, no need to thaw. Put it in the oven at 425 degrees Fahrenheit for about 8 minutes or until nice and toasted. Make sure to check the crust so it doesn't burn.
You can also prepare the spread over the bread and freeze before baking in the oven to serve for later. When you put it in ziplock, do not let the bag smash against the oily garlic topping. When ready to serve, no need to thaw. Bake it at 425 degrees Fahrenheit for about 10 minutes or until the crust is nice and toasted.
Yes to both of these! You can refrigerate the whole roasted garlic bulb in a ziplock bag or airtight container for a couple of days before using.
You can also prepare the garlic and oil mixture and freeze it in a freezer safe container until ready to use. It should last for a couple of months in the freezer. To use, let it come to room temperature.
Basically the same way except you'll want to quadruple almost all the ingredients. Use at least 4 roasted garlic cloves, a couple pinches of salt and no more than 8 tablespoons of olive oil. Bake at the same time and temperature as normal. Remove from the oven once the outer crust and inside of the bread has a nice crisp.
If you feel that the bread is too oily, place it back in the oven for a few minutes until it's crisp through the center. When the bread is soft in the center the oils can continue to soak into it. Lastly, if you prefer, you can always reduce the amount of oil used. Just make sure to spread it evenly.
✅ Pro Tips
- Roast extra garlic bulbs for future use or in case you prefer to add extra roasted garlic to the loaf before baking. If you're making larger batches, it's not a bad idea to use a little extra roasted garlic, although this is not absolutely necessary.
- I use decent sized garlic bulbs that have more garlic cloves in them, so try not to use smaller bulbs. If smaller bulbs are all you have, just make extra to mash on there!
- Make sure the bread is crisp on the inside to prevent it from getting oily.
Try Serving with These Dishes!
The BEST Dairy-Free Alfredo Sauce
📖 Recipe
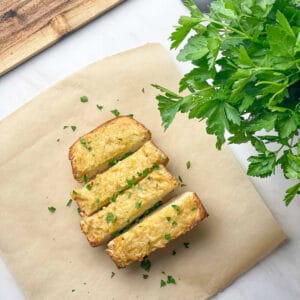
Healthier Garlic Bread
Ingredients
- ¼ loaf of Italian or French bread
- 1 bulb of garlic
- 2 tablespoons olive oil plus more for roasting the garlic bulb
- pinch of salt
- fresh or dried parsley for topping, optional
Instructions
- Preheat the oven to 350 degrees Fahrenheit.
- Take a bulb of garlic and slice the top off, exposing the cloves and leaving the root (the 'hairy' or stringy part) in tact. Peel off some of the skin, leaving just enough on to where the cloves don't fall off the bulb.
- When you peel away the excess skin, you may have cloves that remain uncut from the initial slice. I like to cut the tips off of them just to make it easier for later.
- Take a small piece of foil and place the bulb of garlic on top. Drizzle with a little extra virgin olive oil (about a teaspoon) and a pinch of salt. Cover with foil and place on a baking sheet. Bake for 35 minutes, until the garlic cloves are soft and mushy.
- Let the garlic cool and then squeeze the cloves out of the bulb and into a bowl. Add the olive oil and a pinch of salt, then mix with a fork until you have a mushy garlic mixture.
- Slice the bread in half widthwise and then take one of the halves and slice it lengthwise.
- Spread the mixture evenly on the bread and bake at 425 degrees Fahrenheit on a baking sheet for about 8-10 minutes, or until golden and crisp on the inside and outer crust.
- If desired, broil for one minute with the oven door open and standing next to the oven to prevent burning.
- Top with fresh parsley, and slice once cool enough to handle.
- Enjoy!
Notes
- If you want to make an entire loaf of bread, you'll need at least 4 roasted garlic bulbs and no more than 8 tablespoons of olive oil with a little salt for the mixture.
- Make sure to keep an eye on the crust of the bread when checking it in the oven. The garlic mixture doesn't brown well unless you broil it for a minute. The crust of the bread will brown quickly so make sure you watch it.
Nutrition
**Note: Nutrition label is just an estimate. Amounts may vary. This nutrition label uses the calorie information for Italian bread.

Ashley says
I made this tonight to go with my spaghetti and oh my goodness! It was we so good!! Better than any cheesy garlic bread I’ve ever had! Definitely make sure you get all the garlic out of the bulbs because you’ll want every bit of it!
Kayla says
I'm so glad! Thanks for sharing!
Ashley says
So good! I wish I would have made more!
Kayla says
Thanks, Ashley!