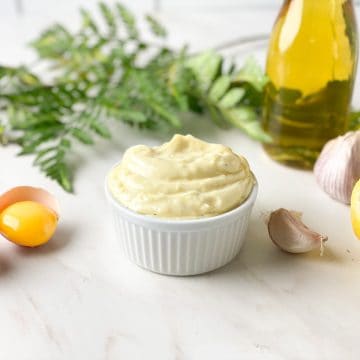
If you aren't a fan of mayonnaise, chances are you're going to love this simple Homemade Garlic Mayonnaise. It's healthy, delicious and you can use it as a dip or spread on just about anything.
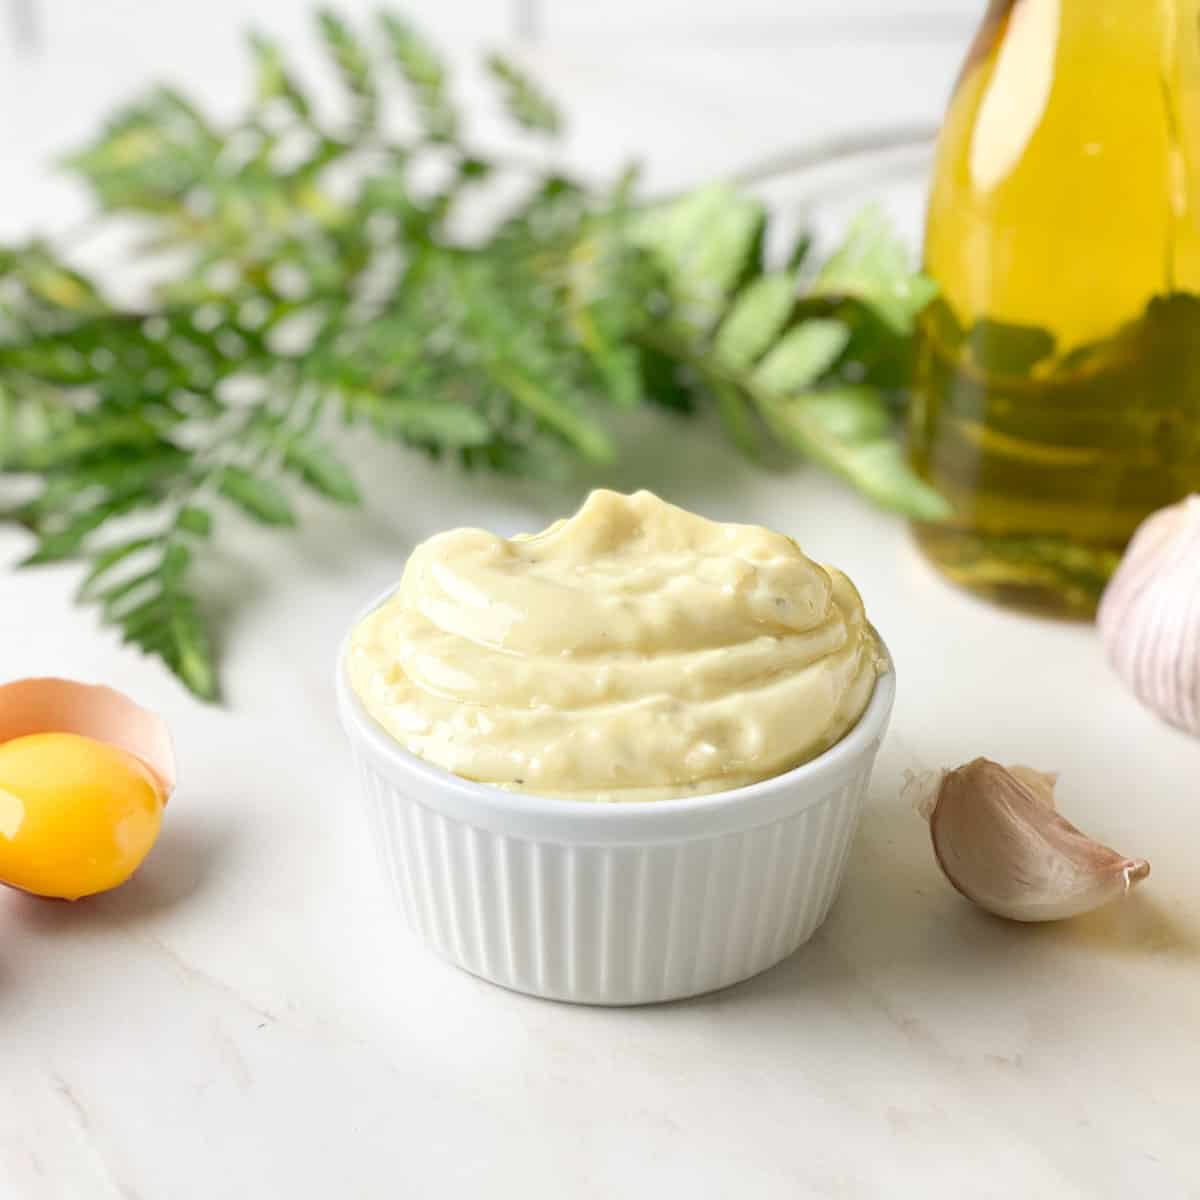
Once you learn how easy it is to make garlic mayo at home, you'll want to keep a batch ready to go in the refrigerator.
Jump to:
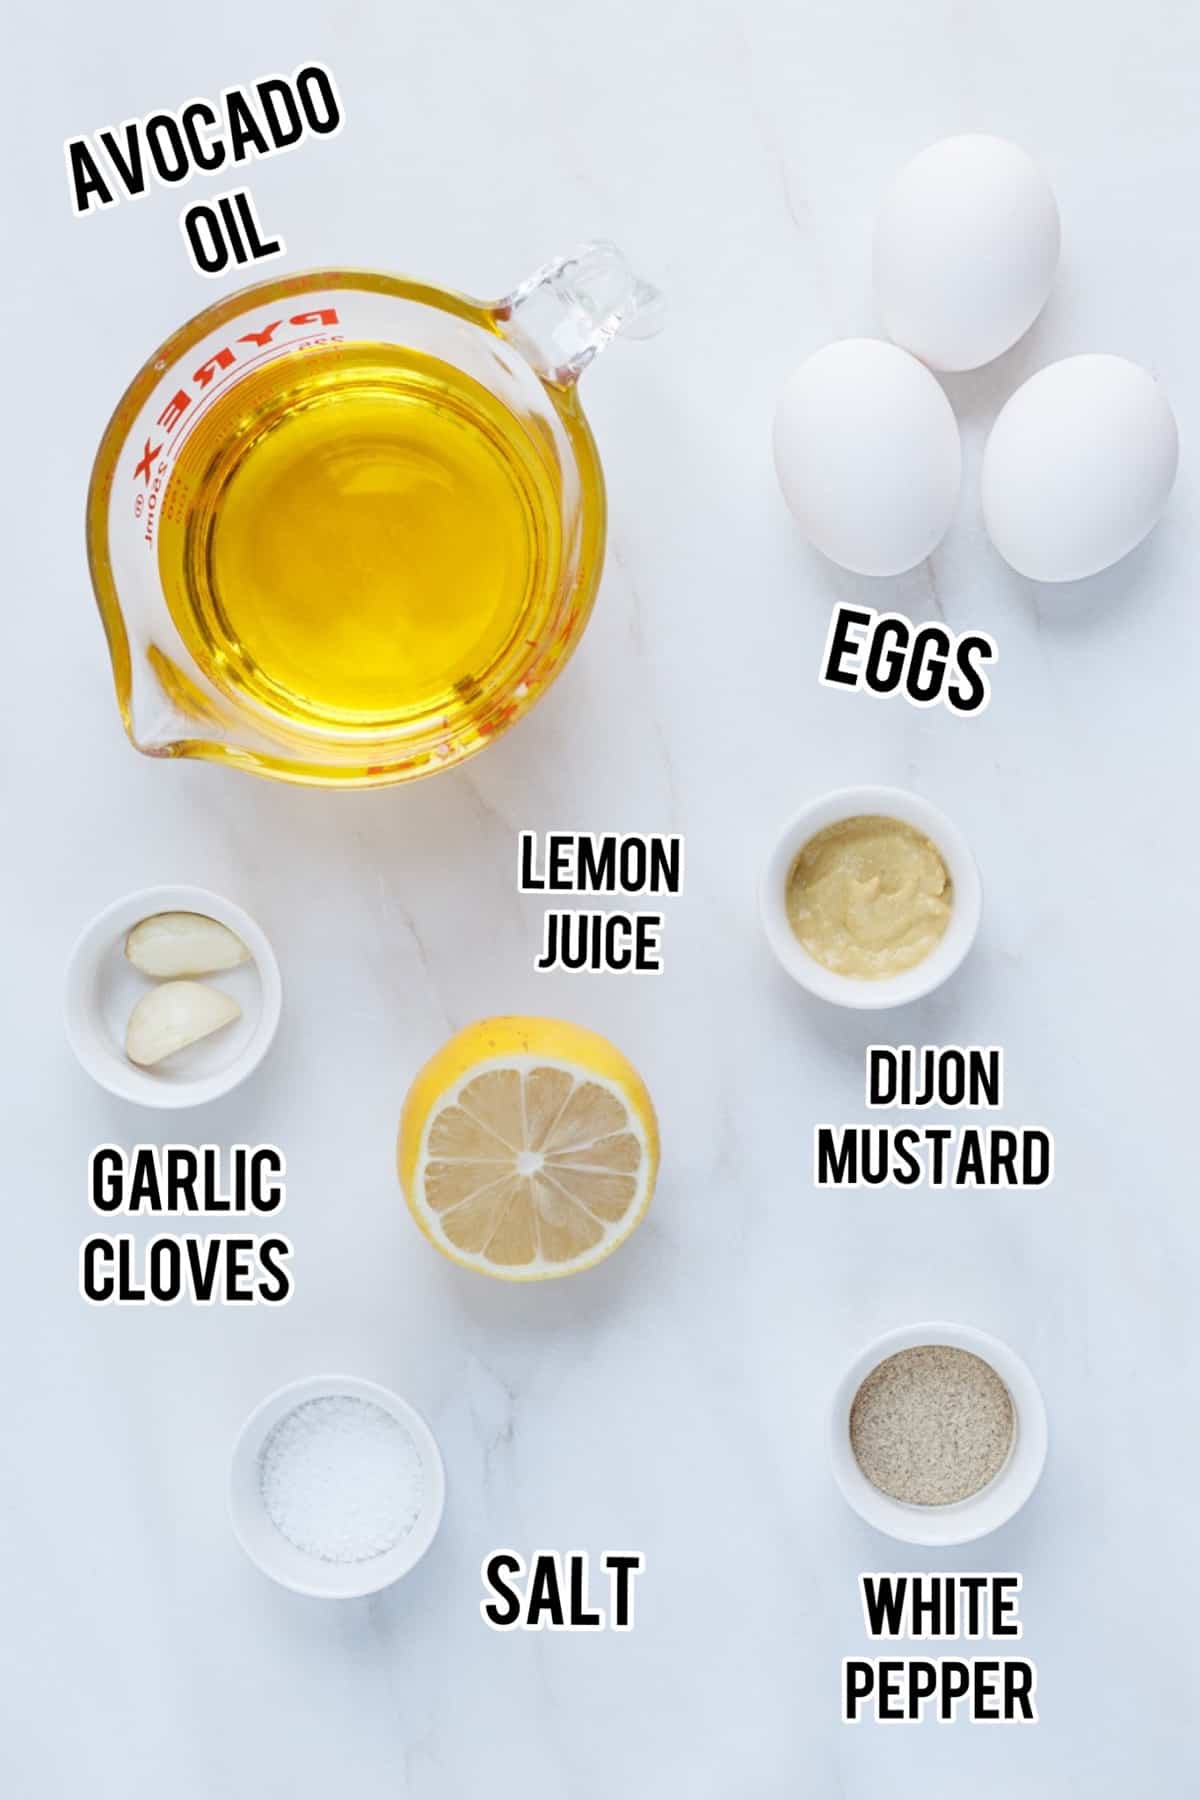
🍋Substitutions
- Avocado oil: I prefer avocado oil because it has a neutral flavor, but you can also use olive oil.
- Lemon juice: You can make it without lemon juice and use either apple cider vinegar or distilled white vinegar in its place. Apple cider vinegar does have a stronger taste, so I would start with 1.5 teaspoons and add more from there if needed. I would also do the same with distilled white vinegar.
- Dijon mustard: You can also use yellow mustard or even mustard powder.
- Garlic cloves: If you don't have garlic cloves, you can also make this garlic mayonnaise with garlic powder. Use about a teaspoon of garlic powder or to taste.
🥚What If I Don't Want to Consume Raw Eggs?
If you cannot find pasteurized eggs at your local grocery store, you can actually do it yourself at home. You'll just need a kitchen thermometer.
First, place your eggs in a pot and cover with water, about an inch over the eggs.
Have your kitchen thermometer hanging in the pot the entire time, but not touching the bottom of the pan. Otherwise you will not get an accurate temperature of the water.
Turn the stove on to med-high heat. The goal we are working toward is to have the temperature of the water stay between 135 degrees Fahrenheit and 140 degrees Fahrenheit without going over 140 degrees Fahrenheit. We will hold it at this temperature for 3 minutes for medium eggs and about 5 minutes for large eggs. But first, we have to be careful to maintain this temperature. Here's what you'll do:
Babysit the thermometer. Don't leave it. Once the temperature of the water reaches 115 degrees Fahrenheit, turn the heat down one number on your stove. Once it gets to 125 degrees Fahrenheit, turn it down one number lower again. When it reaches 135 degrees Fahrenheit, turn the heat to low and set a timer for 3 minutes.
If the temperature starts to jump up too close and reaches 138 degrees Fahrenheit (which will likely happen), take it off the burner carefully and place it on a burner that's off. If the temperature starts to fall and reaches 135 degrees Fahrenheit, place it carefully back on the burner that was on (but is now turned off) and continue to watch it.
After 3 minutes is up, carefully place the eggs in an ice bath (or just cold water if you don't have ice) and let it rest for a minute or two.
That's it! Your eggs are now pasteurized and ready for homemade mayonnaise.
📝Instructions
Start off with room temperature eggs and separate the egg whites from the yolks.
Place the egg yolks in a blender or food processor and process for a few seconds allowing the yolks to mix.
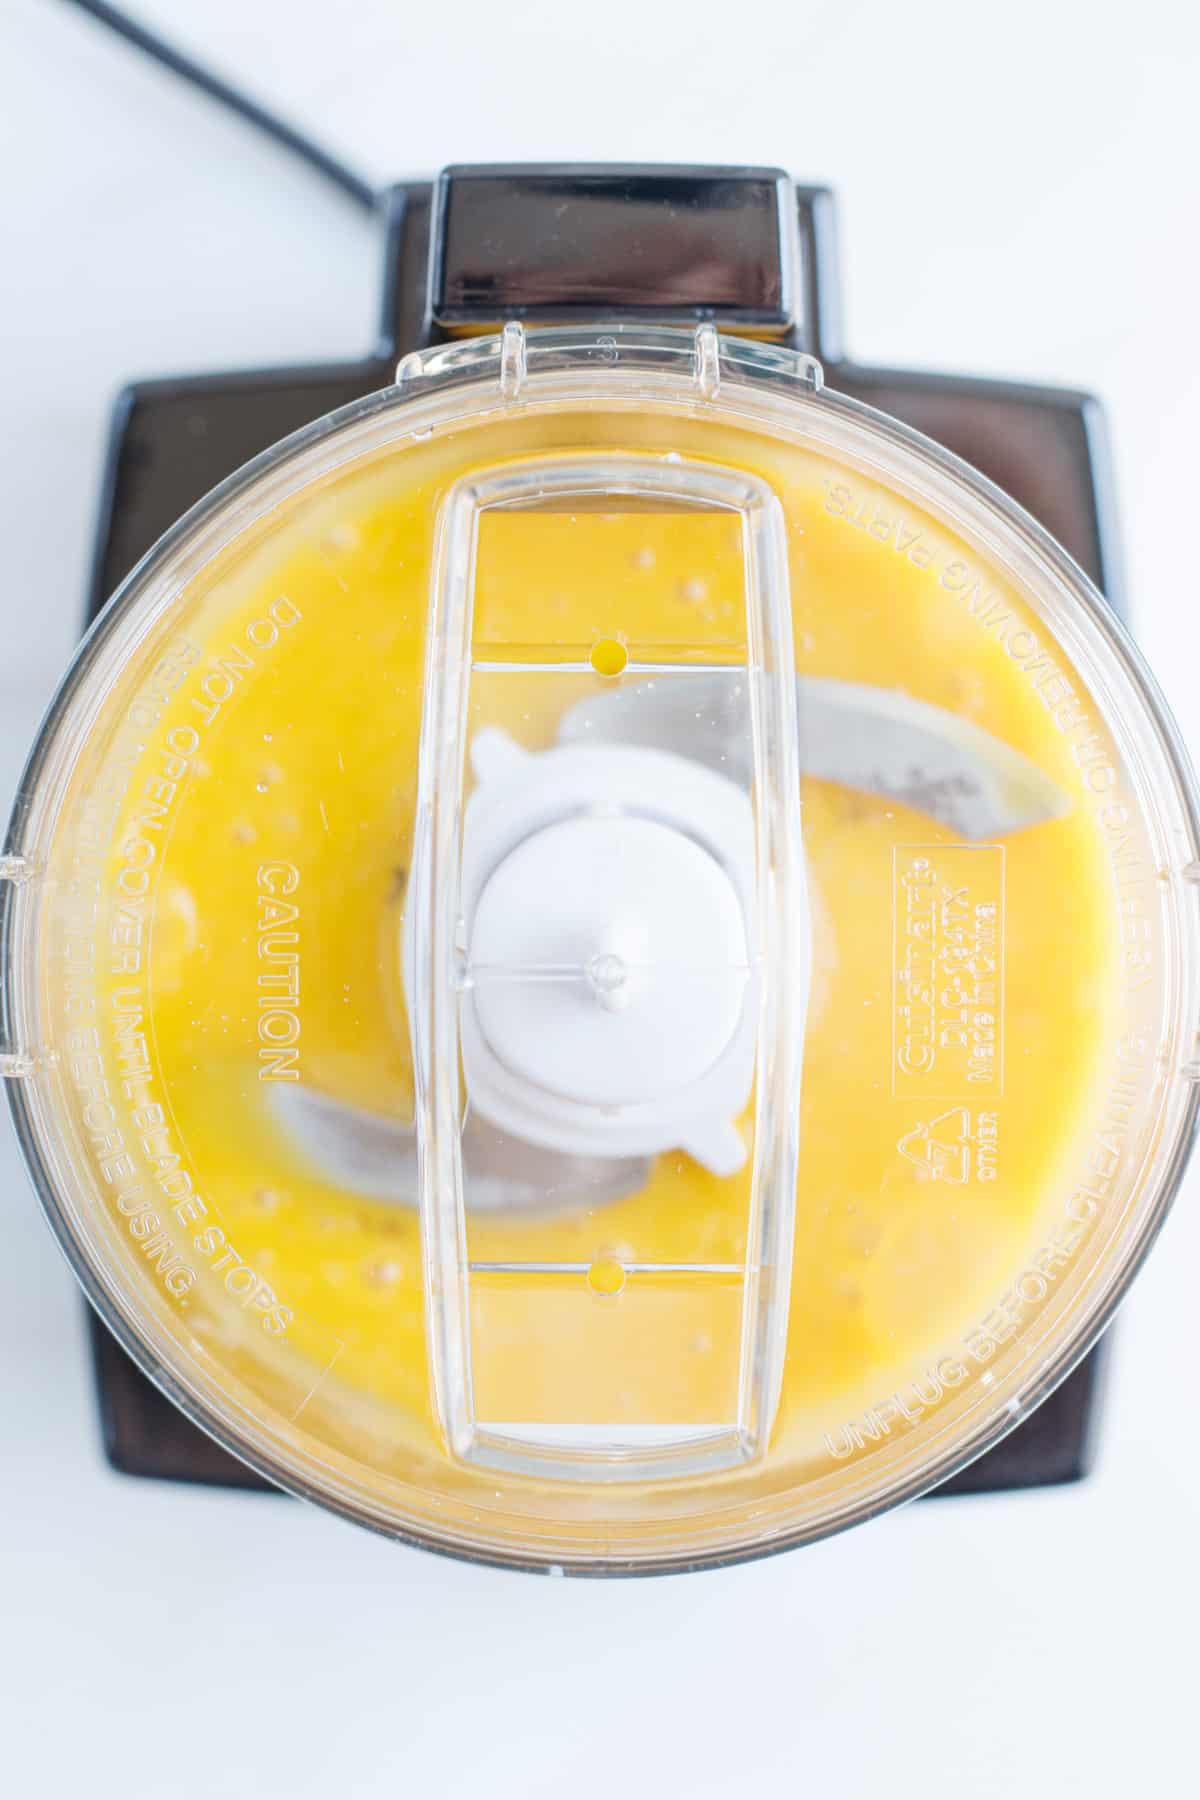
The first 30 seconds are crucial in making mayo, so pour a very thin and slow stream of oil into the blender while it's blending. It cannot take a lot of oil in the beginning. If you want to, you can always add a little bit of oil, stop pouring and allow it to blend and continue this process of adding a little bit of oil at a time.
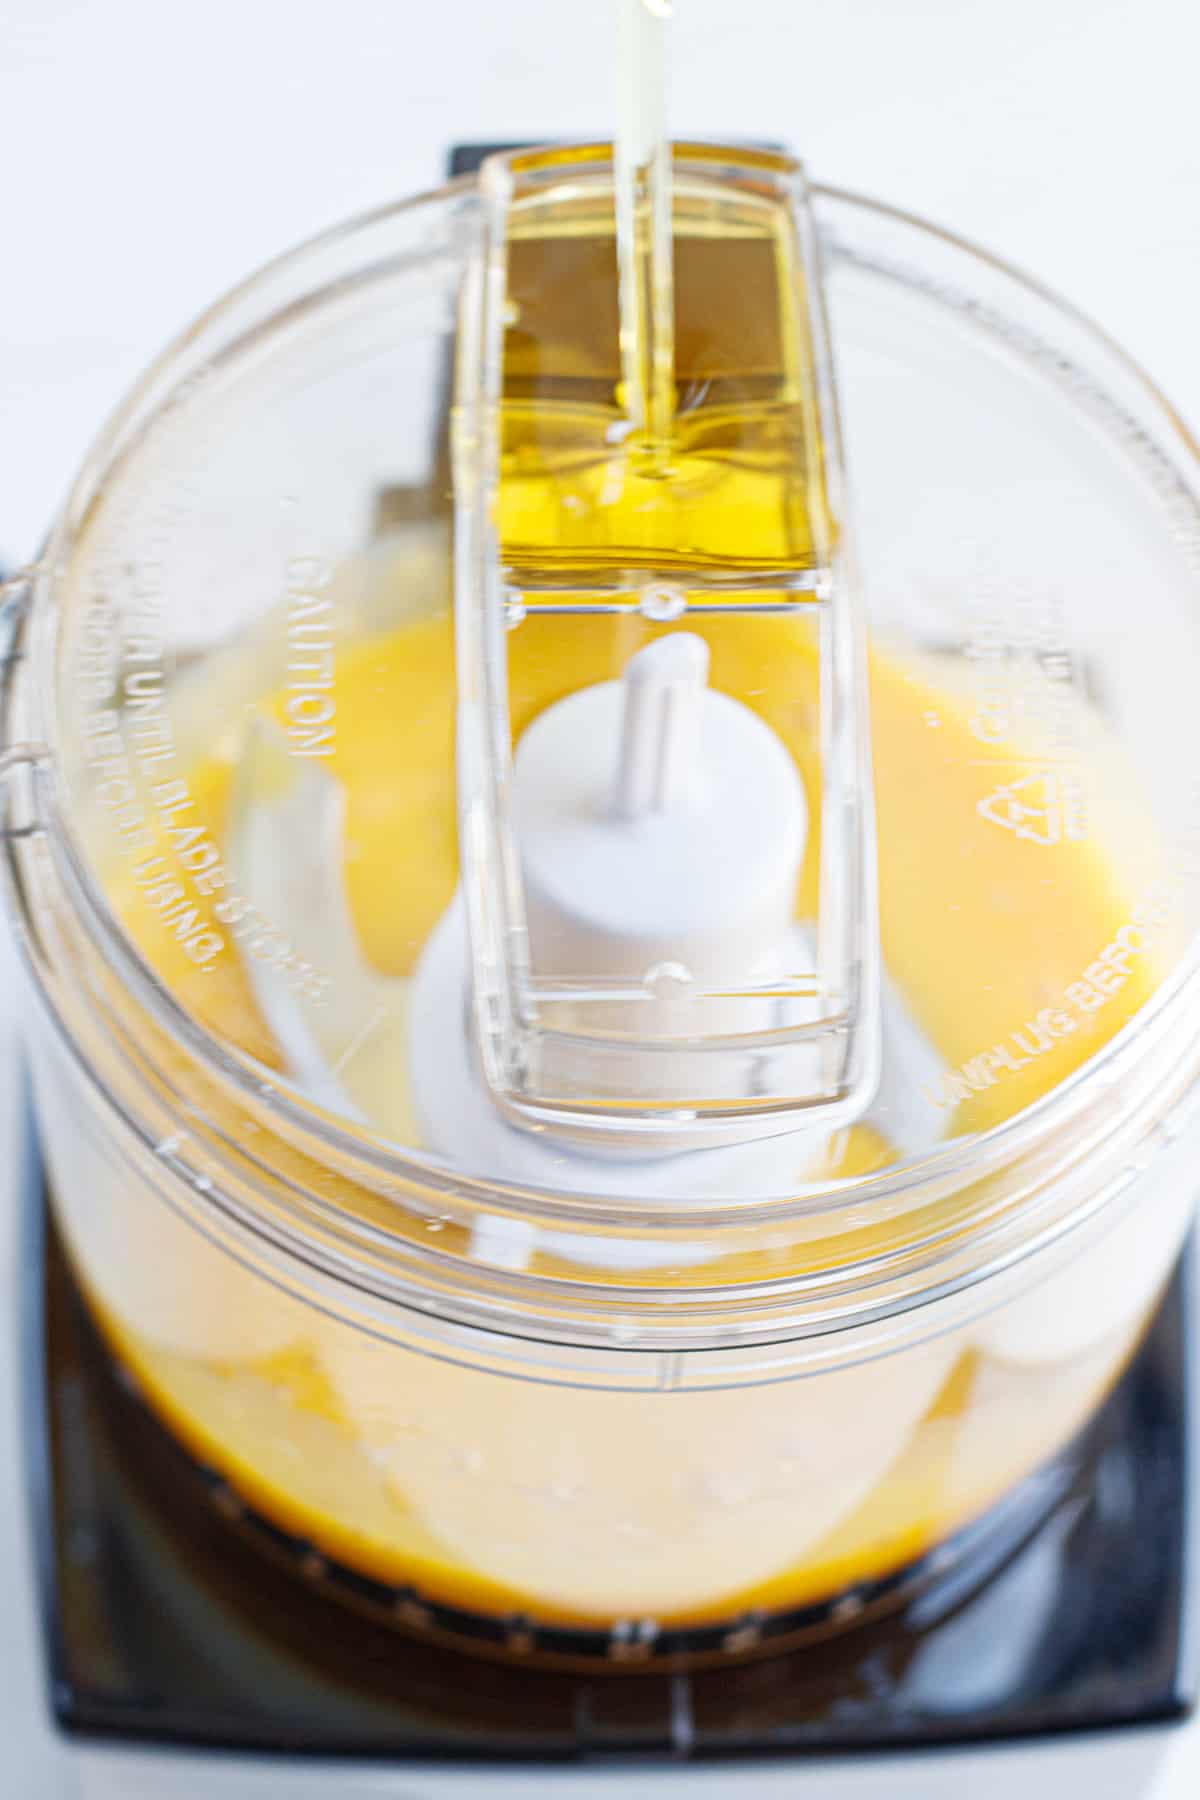
Slowly pour a thin stream of oil while the yolks are blending. This process should take about 2 minutes, so be patient!
Once all the oil is in, add the rest of the ingredients. I like to grate the garlic so that it's fine and you don't get any big pieces of garlic.
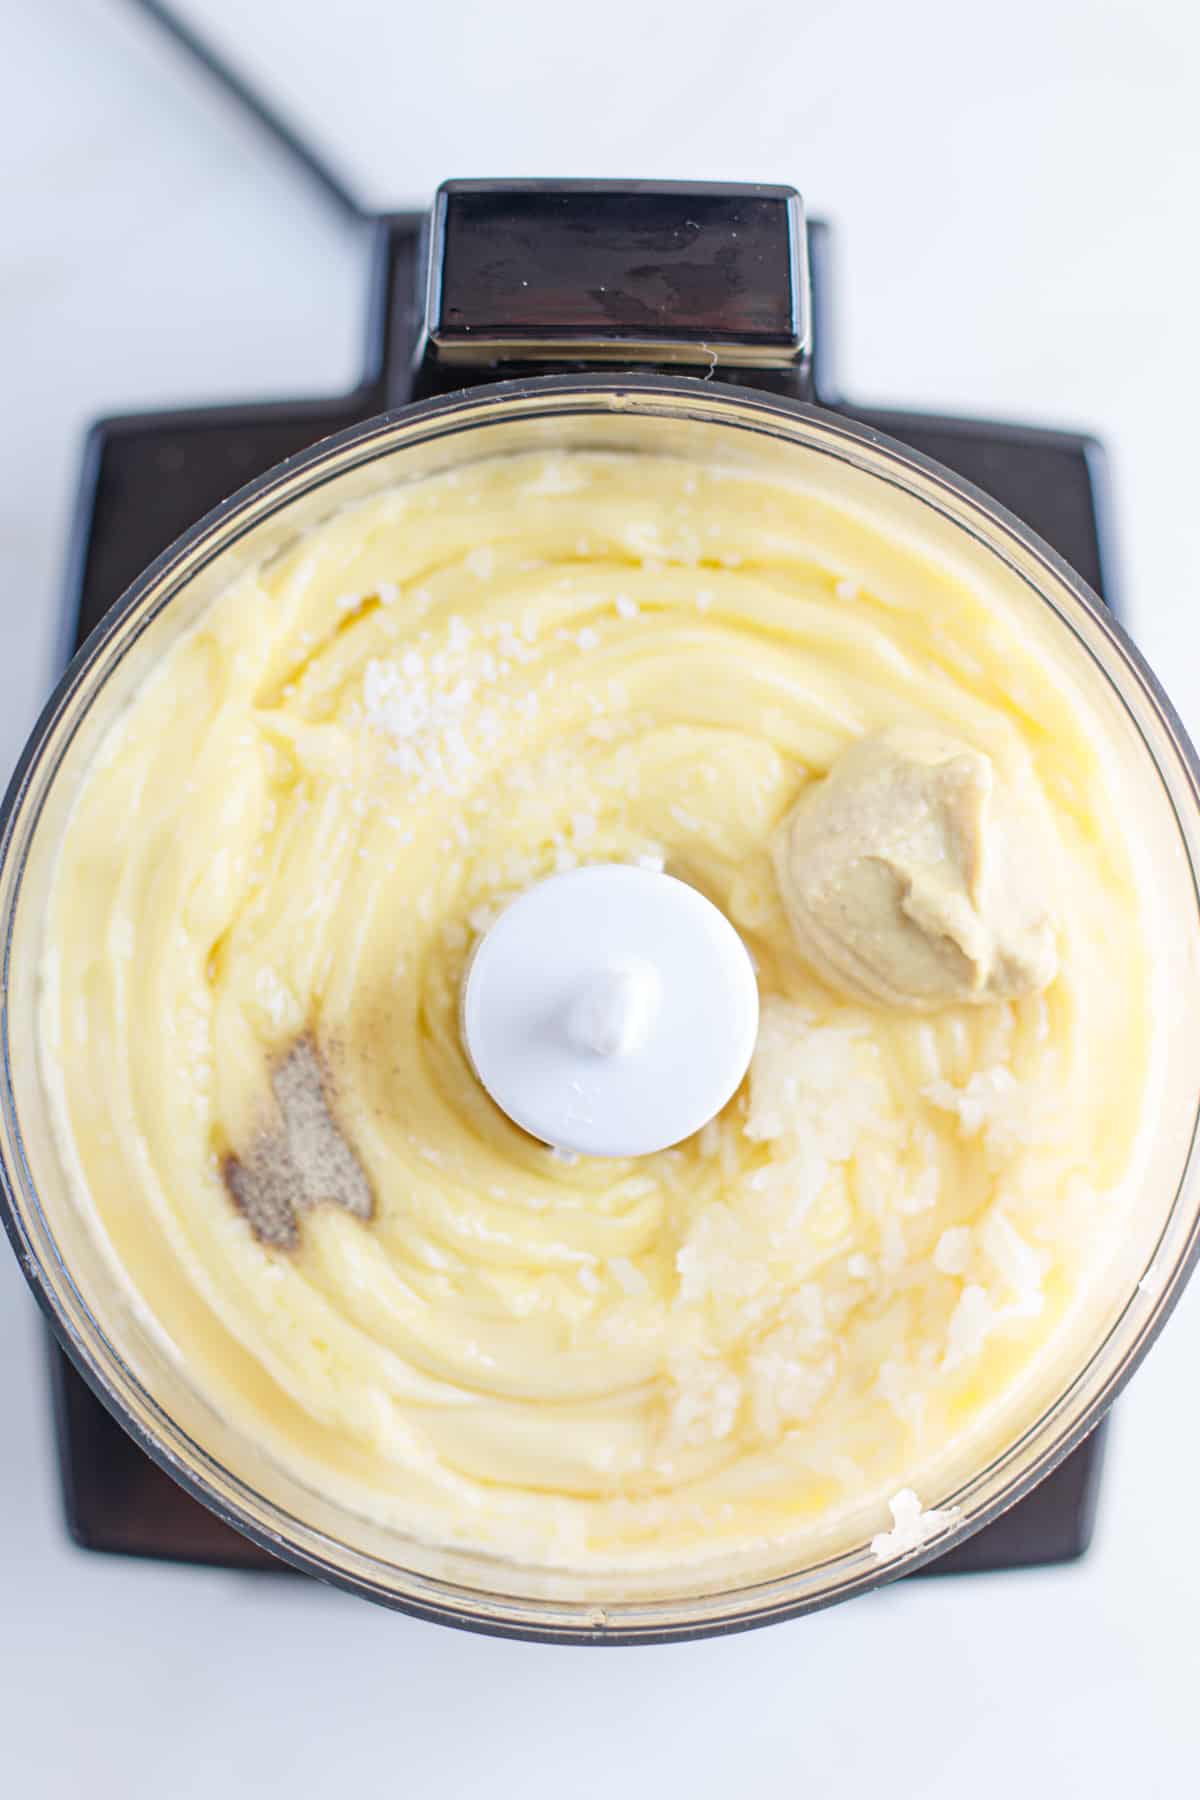
Blend until it's all mixed together.
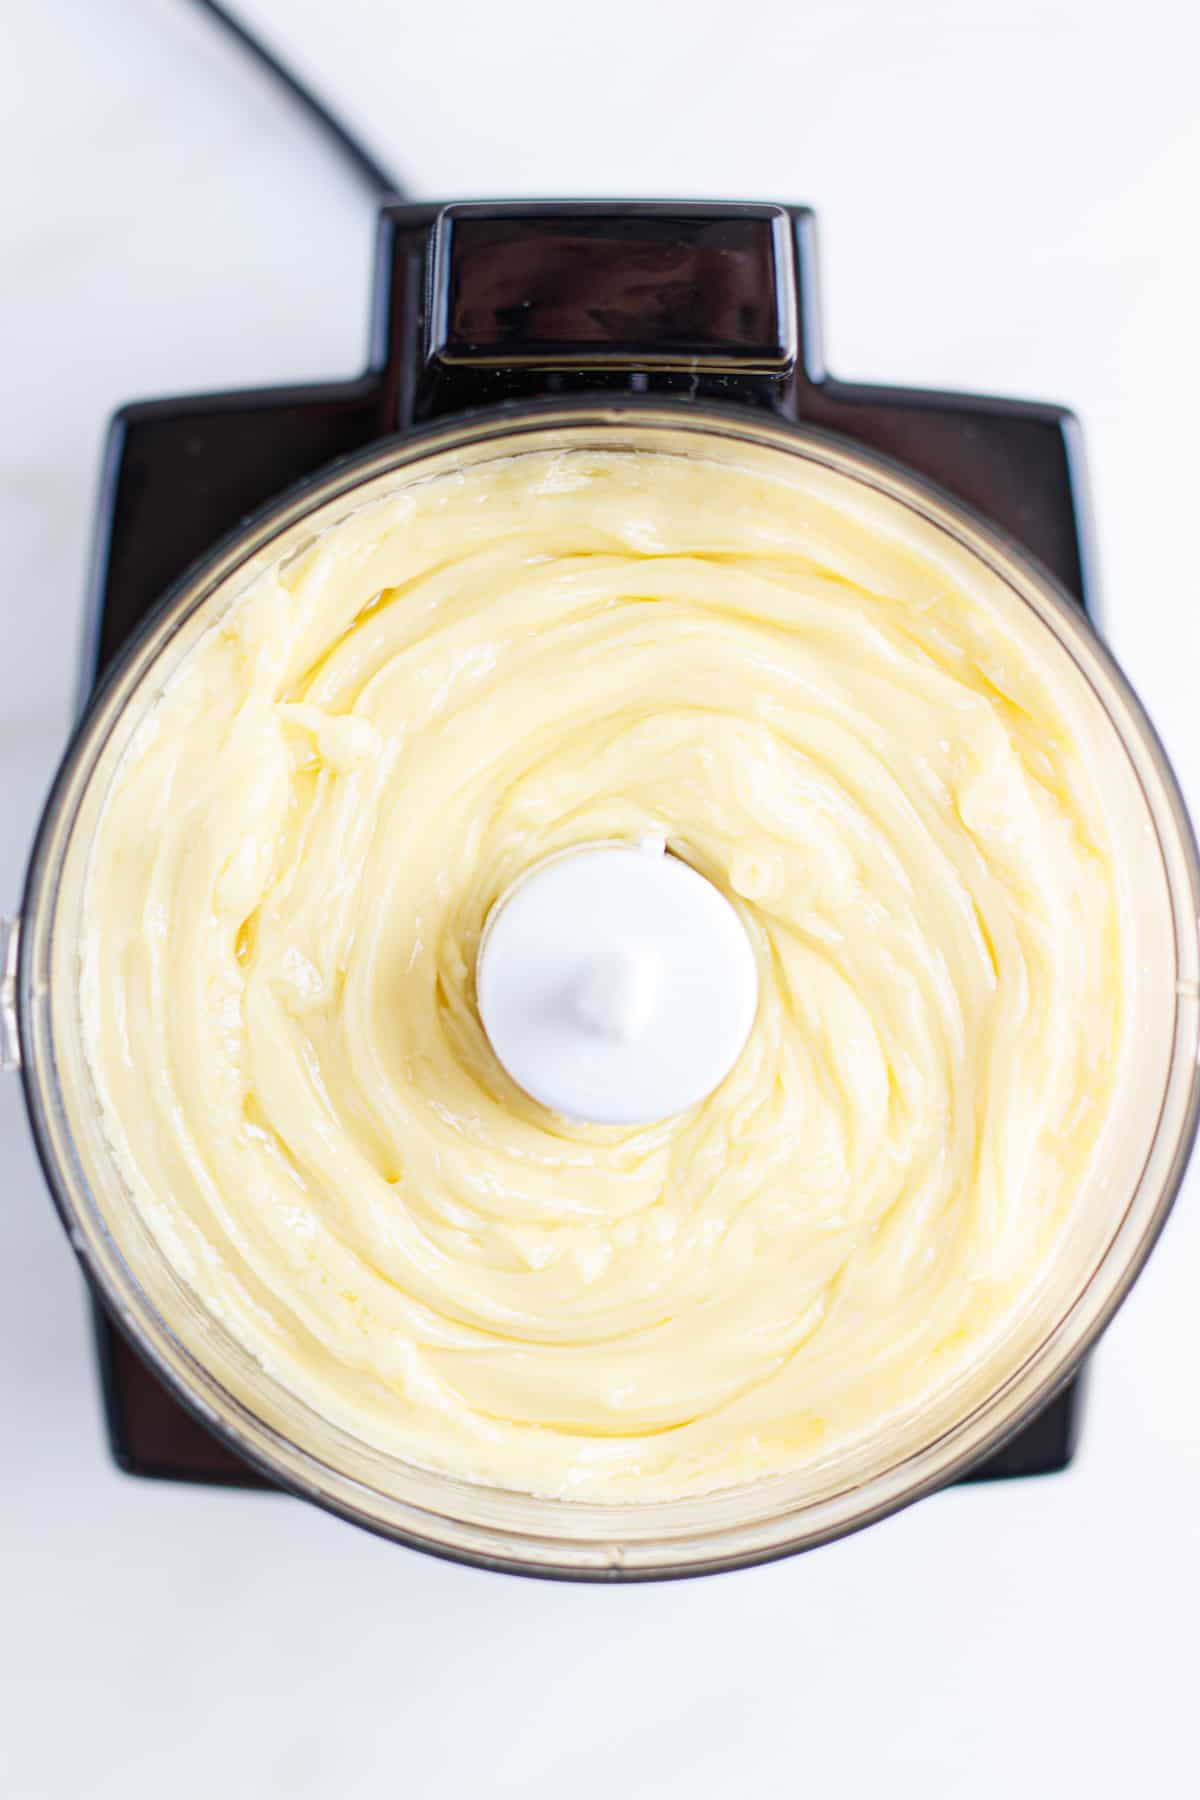
Let it refrigerate for at least 30 minutes to 1 hour.
Enjoy as a delicious dip or spread.

🧊Storing
Homemade mayonnaise doesn't have the preservatives that store bought mayo has. So, the shelf life is only about a week in the refrigerator in an airtight container.
✅Pro Tips
- Use a blender that is not too big. I've run into the problem of using blenders that are too big and the blades cannot reach the egg yolks after they've been broken. They just sit underneath the blades, protected from their wrath. The reason you don't want this is because the first 30 seconds of blending are crucial for how your mayo will turn out. You want the blades to be hitting the yolks before the oil gets poured in because there can only be a teeny bit of oil in that span of time. If your blades aren't reaching the yolks, that will be a problem.
- Use room temperature eggs because it helps with the emulsification (the process of breaking down fats).
- Pour a slow and steady stream of oil while its blending, especially within the first 30 seconds. You can always add a little, stop, and then let it blend before adding more. You want the oil stream to be thin when pouring.
- Prepare to be patient because it's going to take at least 2 minutes to get all of the oil poured in.
- Add the other ingredients last so it doesn't interfere with emulsification.

I like to use this food processor from Cuisinart because it's the perfect size and it has two tiny holes in the top that's perfect for slowly pouring the oil in with a thin stream.
❓Frequently Asked Questions
This recipe is gluten free. Classic dijon mustard does not contain any gluten. However, always check the brand you use to make sure and be cautious of cross contamination if necessary.
You can make homemade mayonnaise with just a bowl and a whisk. Just be extra patient and prepared to really use your arm muscles! The process is the same as using a blender. Start off with your egg yolks in a bowl and whisk them together. Slowly add a tiny bit of oil at a time and whisk vigorously each time you add a small amount of oil. This process can take several minutes so be extra patient and switch whisking hands if needed. The mayo might not be as thick as the blender will make it, but it's no problem. It can also thicken a little in the refrigerator. Make sure to add the spices, grated garlic and lemon juice last, then whisk to combine.
You can't really go wrong. Use it on a sandwich, a wrap, pizza, a fish filet, a dip for fries or for chicken. The list goes on.
If you messed up your homemade mayonnaise, it's more than likely from getting in a hurry and adding too much oil at once. Make sure, no matter how close the mayonnaise is to being finished, you do not add too much oil. It will immediately thin it out.
To thicken it back up, pour the thin mayo into a measuring cup. Place an egg yolk in the empty food processor. Pulse the yolk a few times. Start the process over of slowly pouring the oil and egg mixture back in with the egg yolk. Do this very slowly while blending. If it turns out thin again, you are adding too much oil at once. This process can be repeated until you achieve a thick mayonnaise.
If you enjoyed this recipe for learning how to make Homemade Garlic Mayonnaise from scratch, leave a review down below and let me know what you think! You can also find me on Instagram, Facebook and Pinterest by searching @thedairyfreemenu.
📖 Recipe
Homemade Garlic Mayonnaise
Ingredients
- 3 egg yolks room temperature
- 1 cup avocado oil or olive oil
- 2 garlic cloves grated
- 1 teaspoon dijon mustard
- 4 teaspoons lemon juice fresh
- salt and pepper to taste
Instructions
- Start off with room temperature eggs and separate the egg whites from the yolks.
- Place the egg yolks in a blender or food processor and process for a few seconds allowing the yolks to mix.
- The first 30 seconds are crucial in making mayo, so pour a very thin and slow stream of oil into the blender while it's blending. It cannot take a lot of oil in the beginning. If you want to, you can always add a little bit of oil, stop pouring and allow it to blend and continue this process of adding a little bit of oil at a time.
- Slowly pour a thin stream of oil while the yolks are blending. This process should take at least 2 minutes, so be patient! If you add too much oil at a time, it will immediately thin it out. So make sure it's a very small amount of oil at a time.
- Once all the oil is in, add the rest of the ingredients. I like to grate the garlic so that it's fine and you don't get any big pieces of garlic.
- Blend until it's all mixed together.
- Let it refrigerate for at least 30 minutes to an hour.
- Enjoy!
Nutrition
Note: The nutrition label is just an estimate. Amounts may vary.

Comments
No Comments